Our Ailerons are built and we just sent them to our Searey distributor, Recreational Mobility, for adjustment. Specifically there are some sheet metal airfoil parts that need to be correctly shaped in a jig. This only applies to the new Frise ailerons which we have.
Ideally you would do this step after the ailerons were built and fabric covered but before they were painted. You could send them in before fabric covering, then you might have them do the covering for you. Our ailerons are already covered and painted so the metal airfoil will need to be painted separately instead of all at once.
Recreational Mobility has made a jig that perfectly shapes and positions the Frise aileron airfoil for the best flying performance. Here’s an overview of what happens:
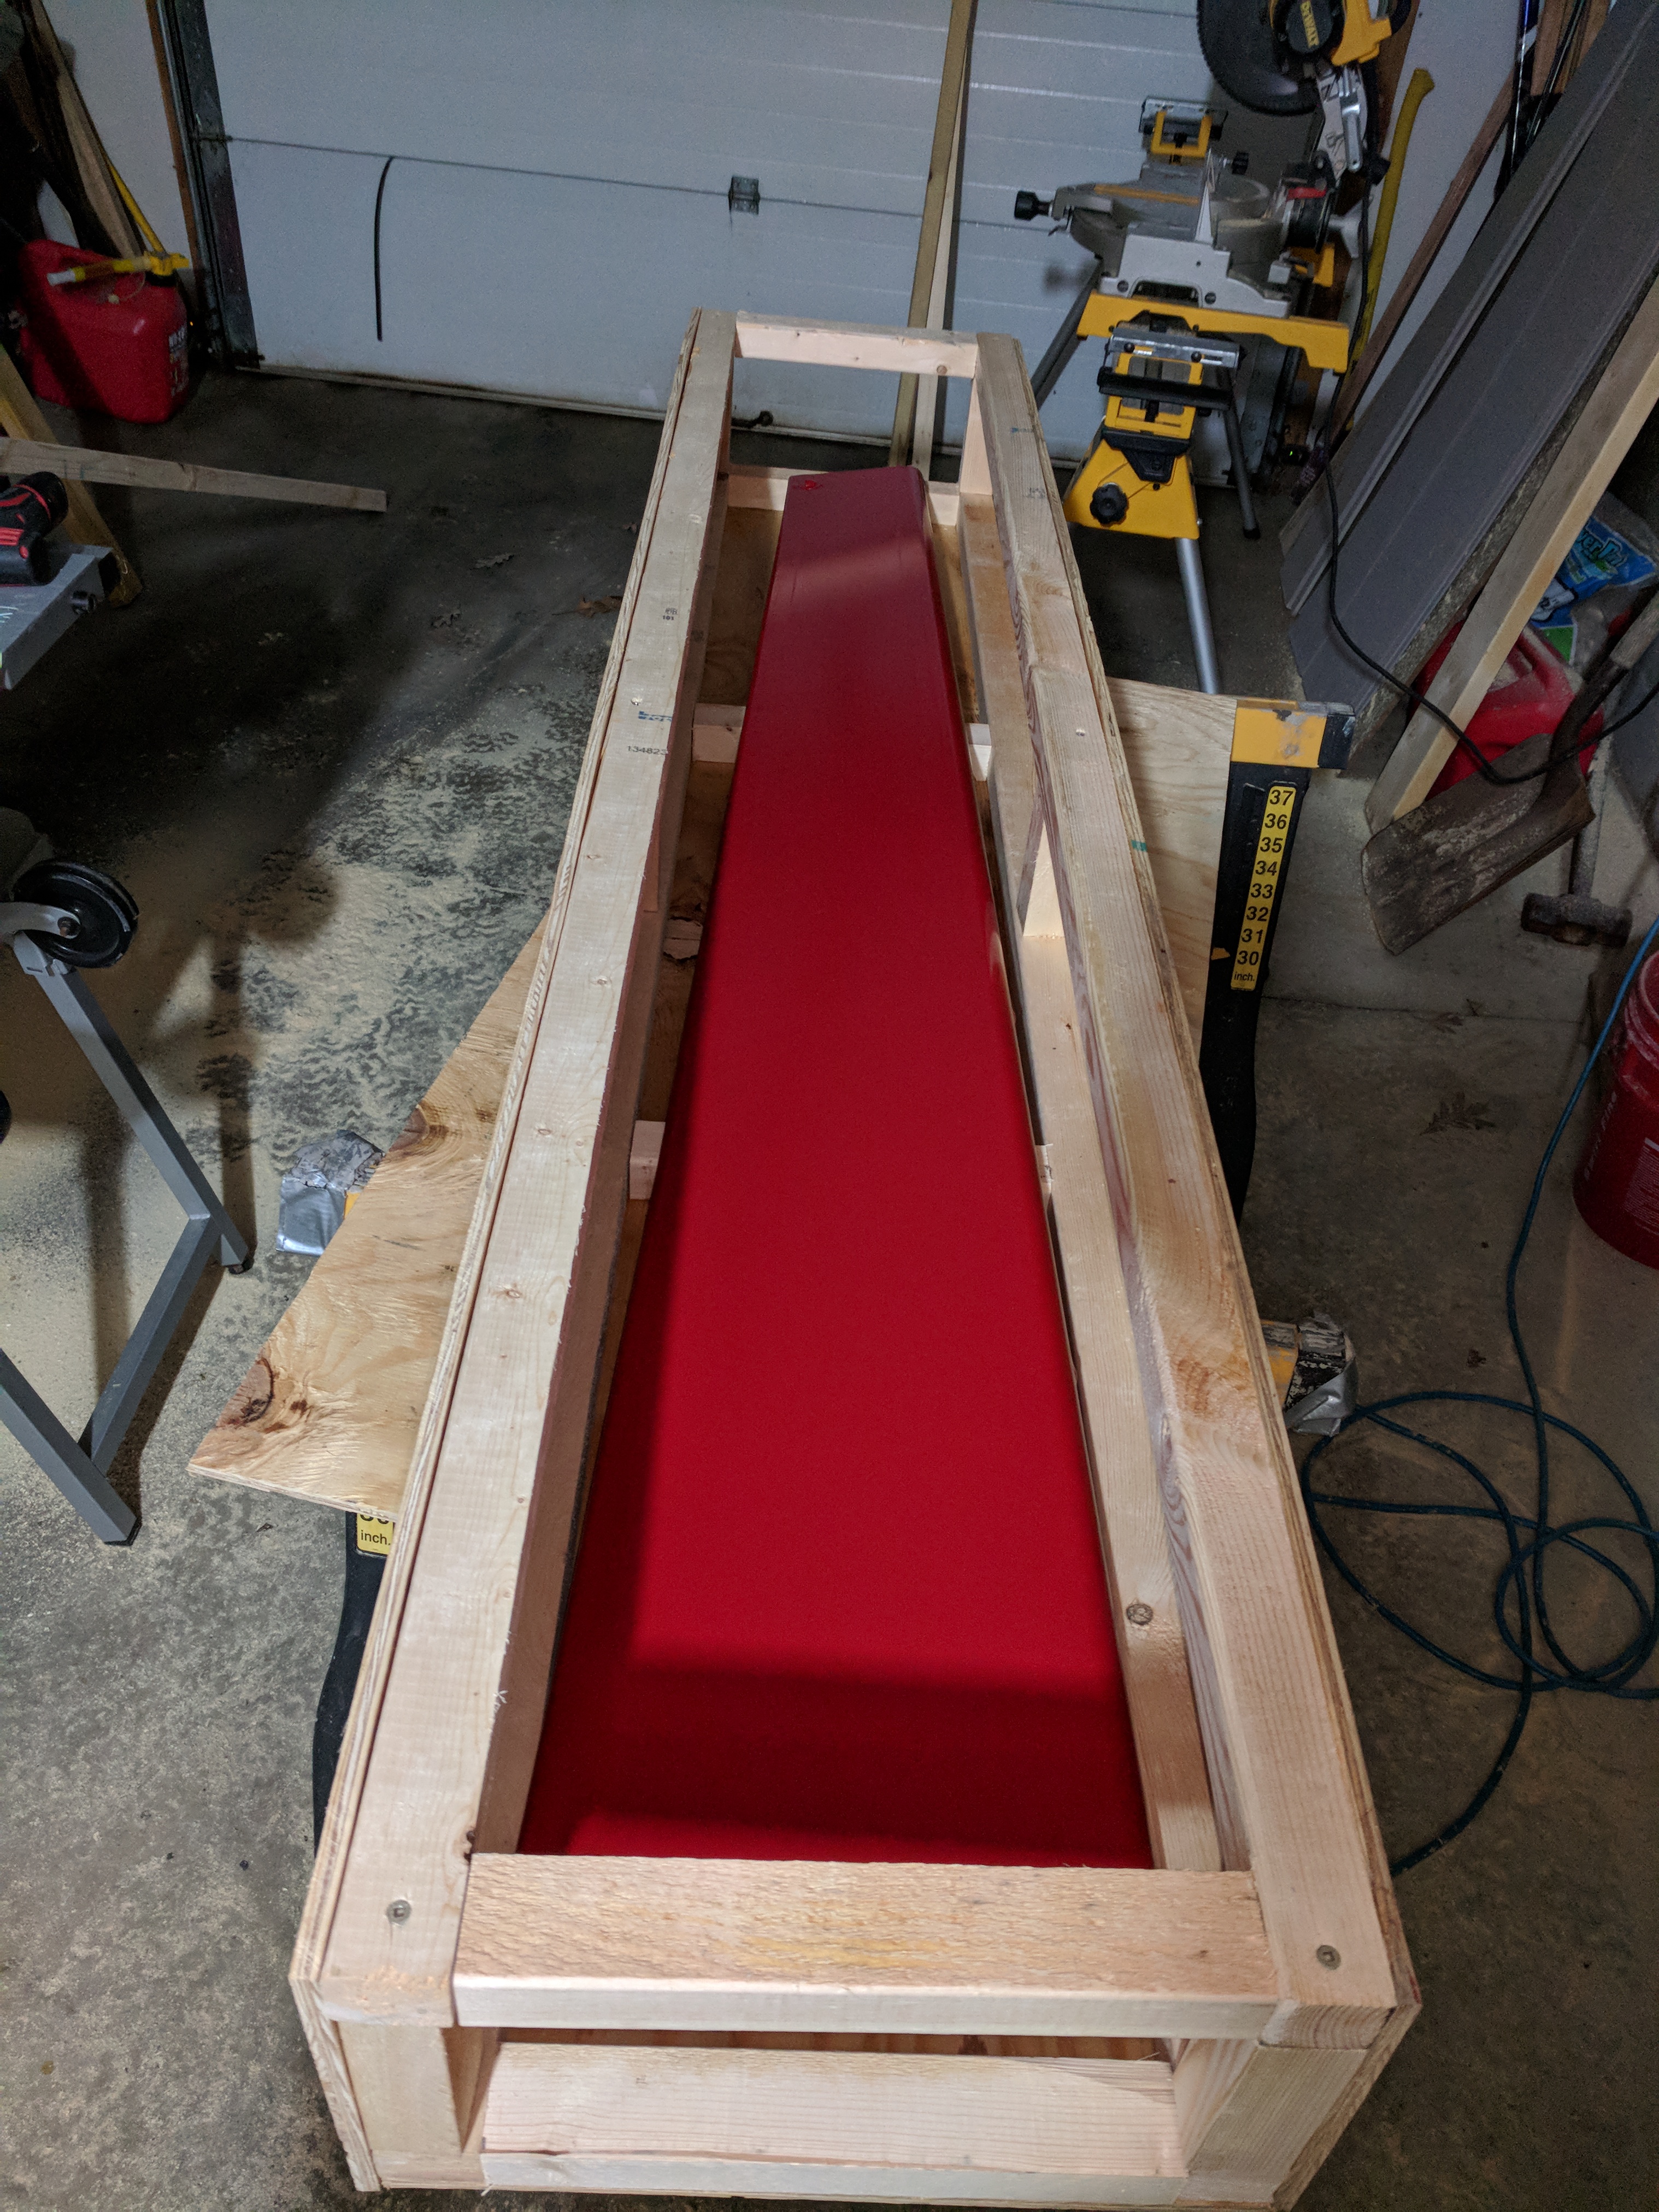
They insert the sheet metal shaped airfoil into the jig stations. A long rod is placed along the leading edge. The rod is tapped, and using draw bolts the Frise metal ‘apex’ is pulled into the jig into the correct location. This makes the metal shape perfect and eliminates any twisting or skew in the shape. Once the metal is locked into place, the aileron is slid into position with the trailing edge against the ‘back stop’. Then they drill / cleco both sides, and mark the positions of the holes for the eyebolts. Here’s a picture of the parts in the jig. You can see how the jig helps create the upward bend and helps position the part for drilling.
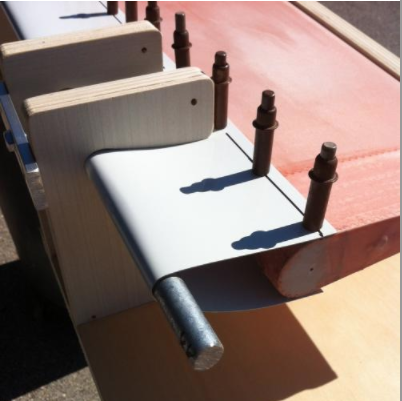
A claimed benefit of the Frise aileron is the ability to counteract adverse yaw. To do so the leading edge of the aileron has to be shaped to increase the drag of the upturned aileron which helps counter balance the yaw force created by the downturned aileron. It seems like the shape in the picture will do that.
Regarding the crate, I followed Steve K’s directions here: http://seareybuild.blogspot.com/2016/02/boxing-day-mk-ii.html
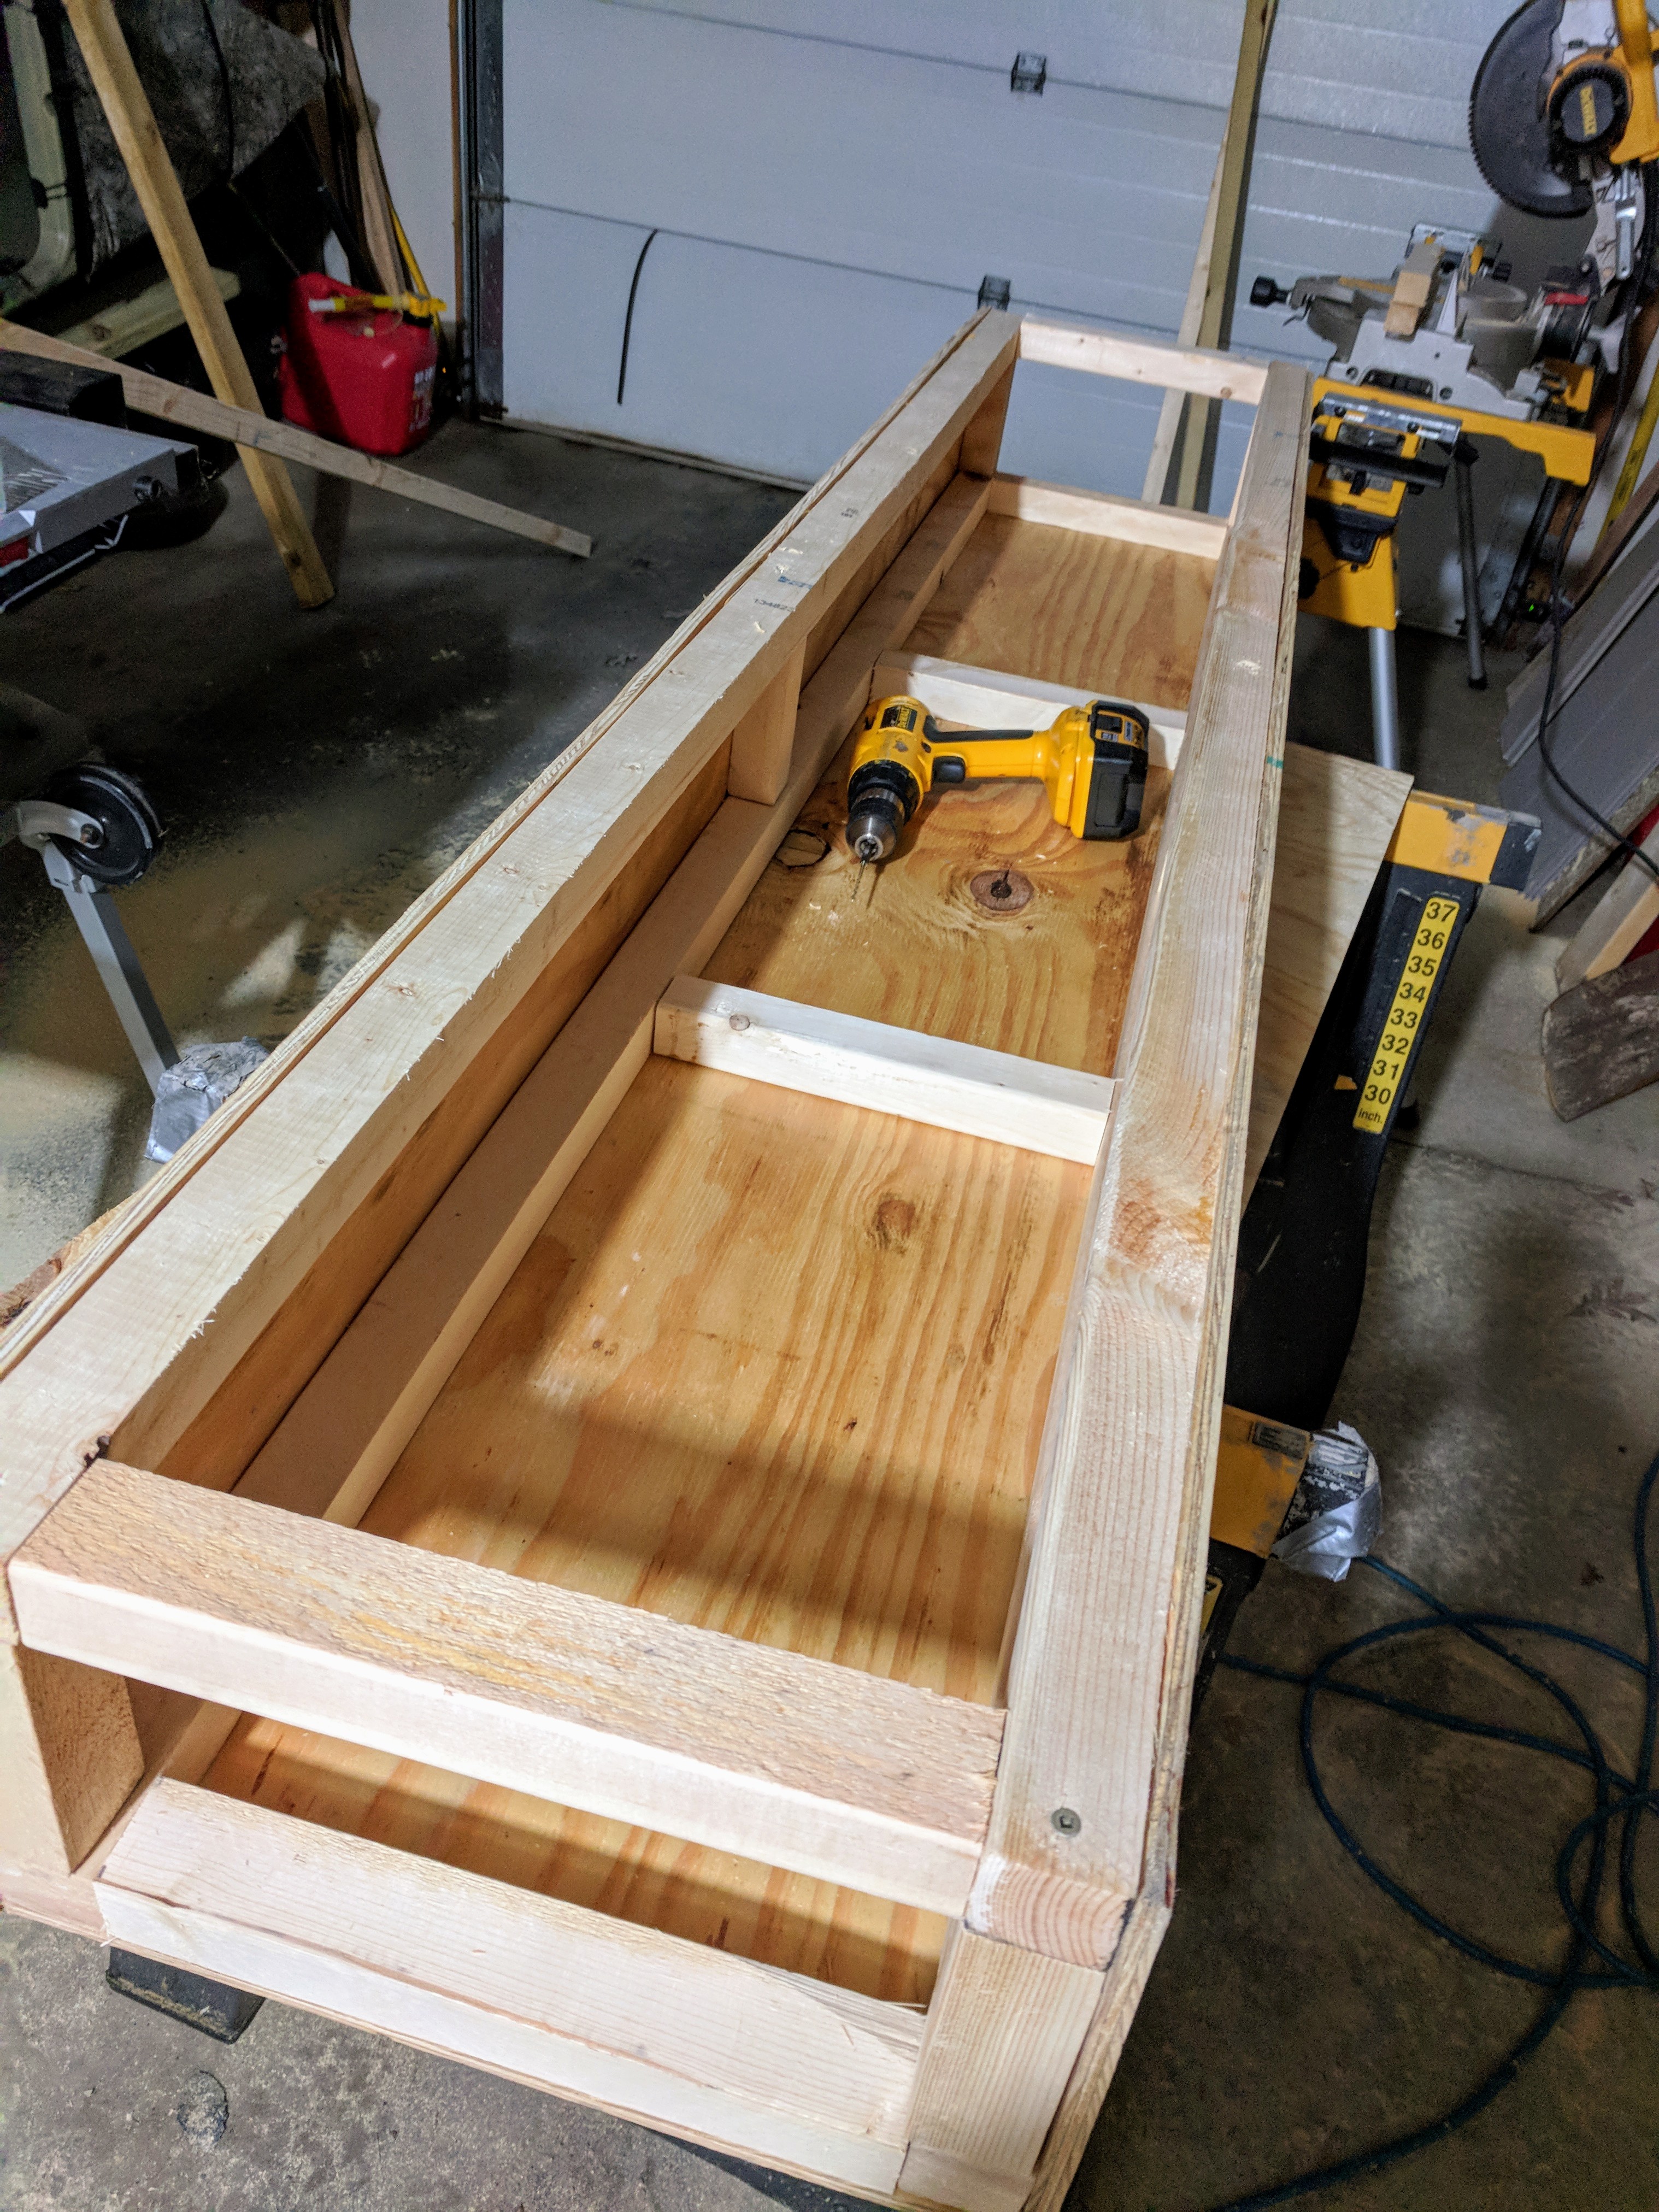
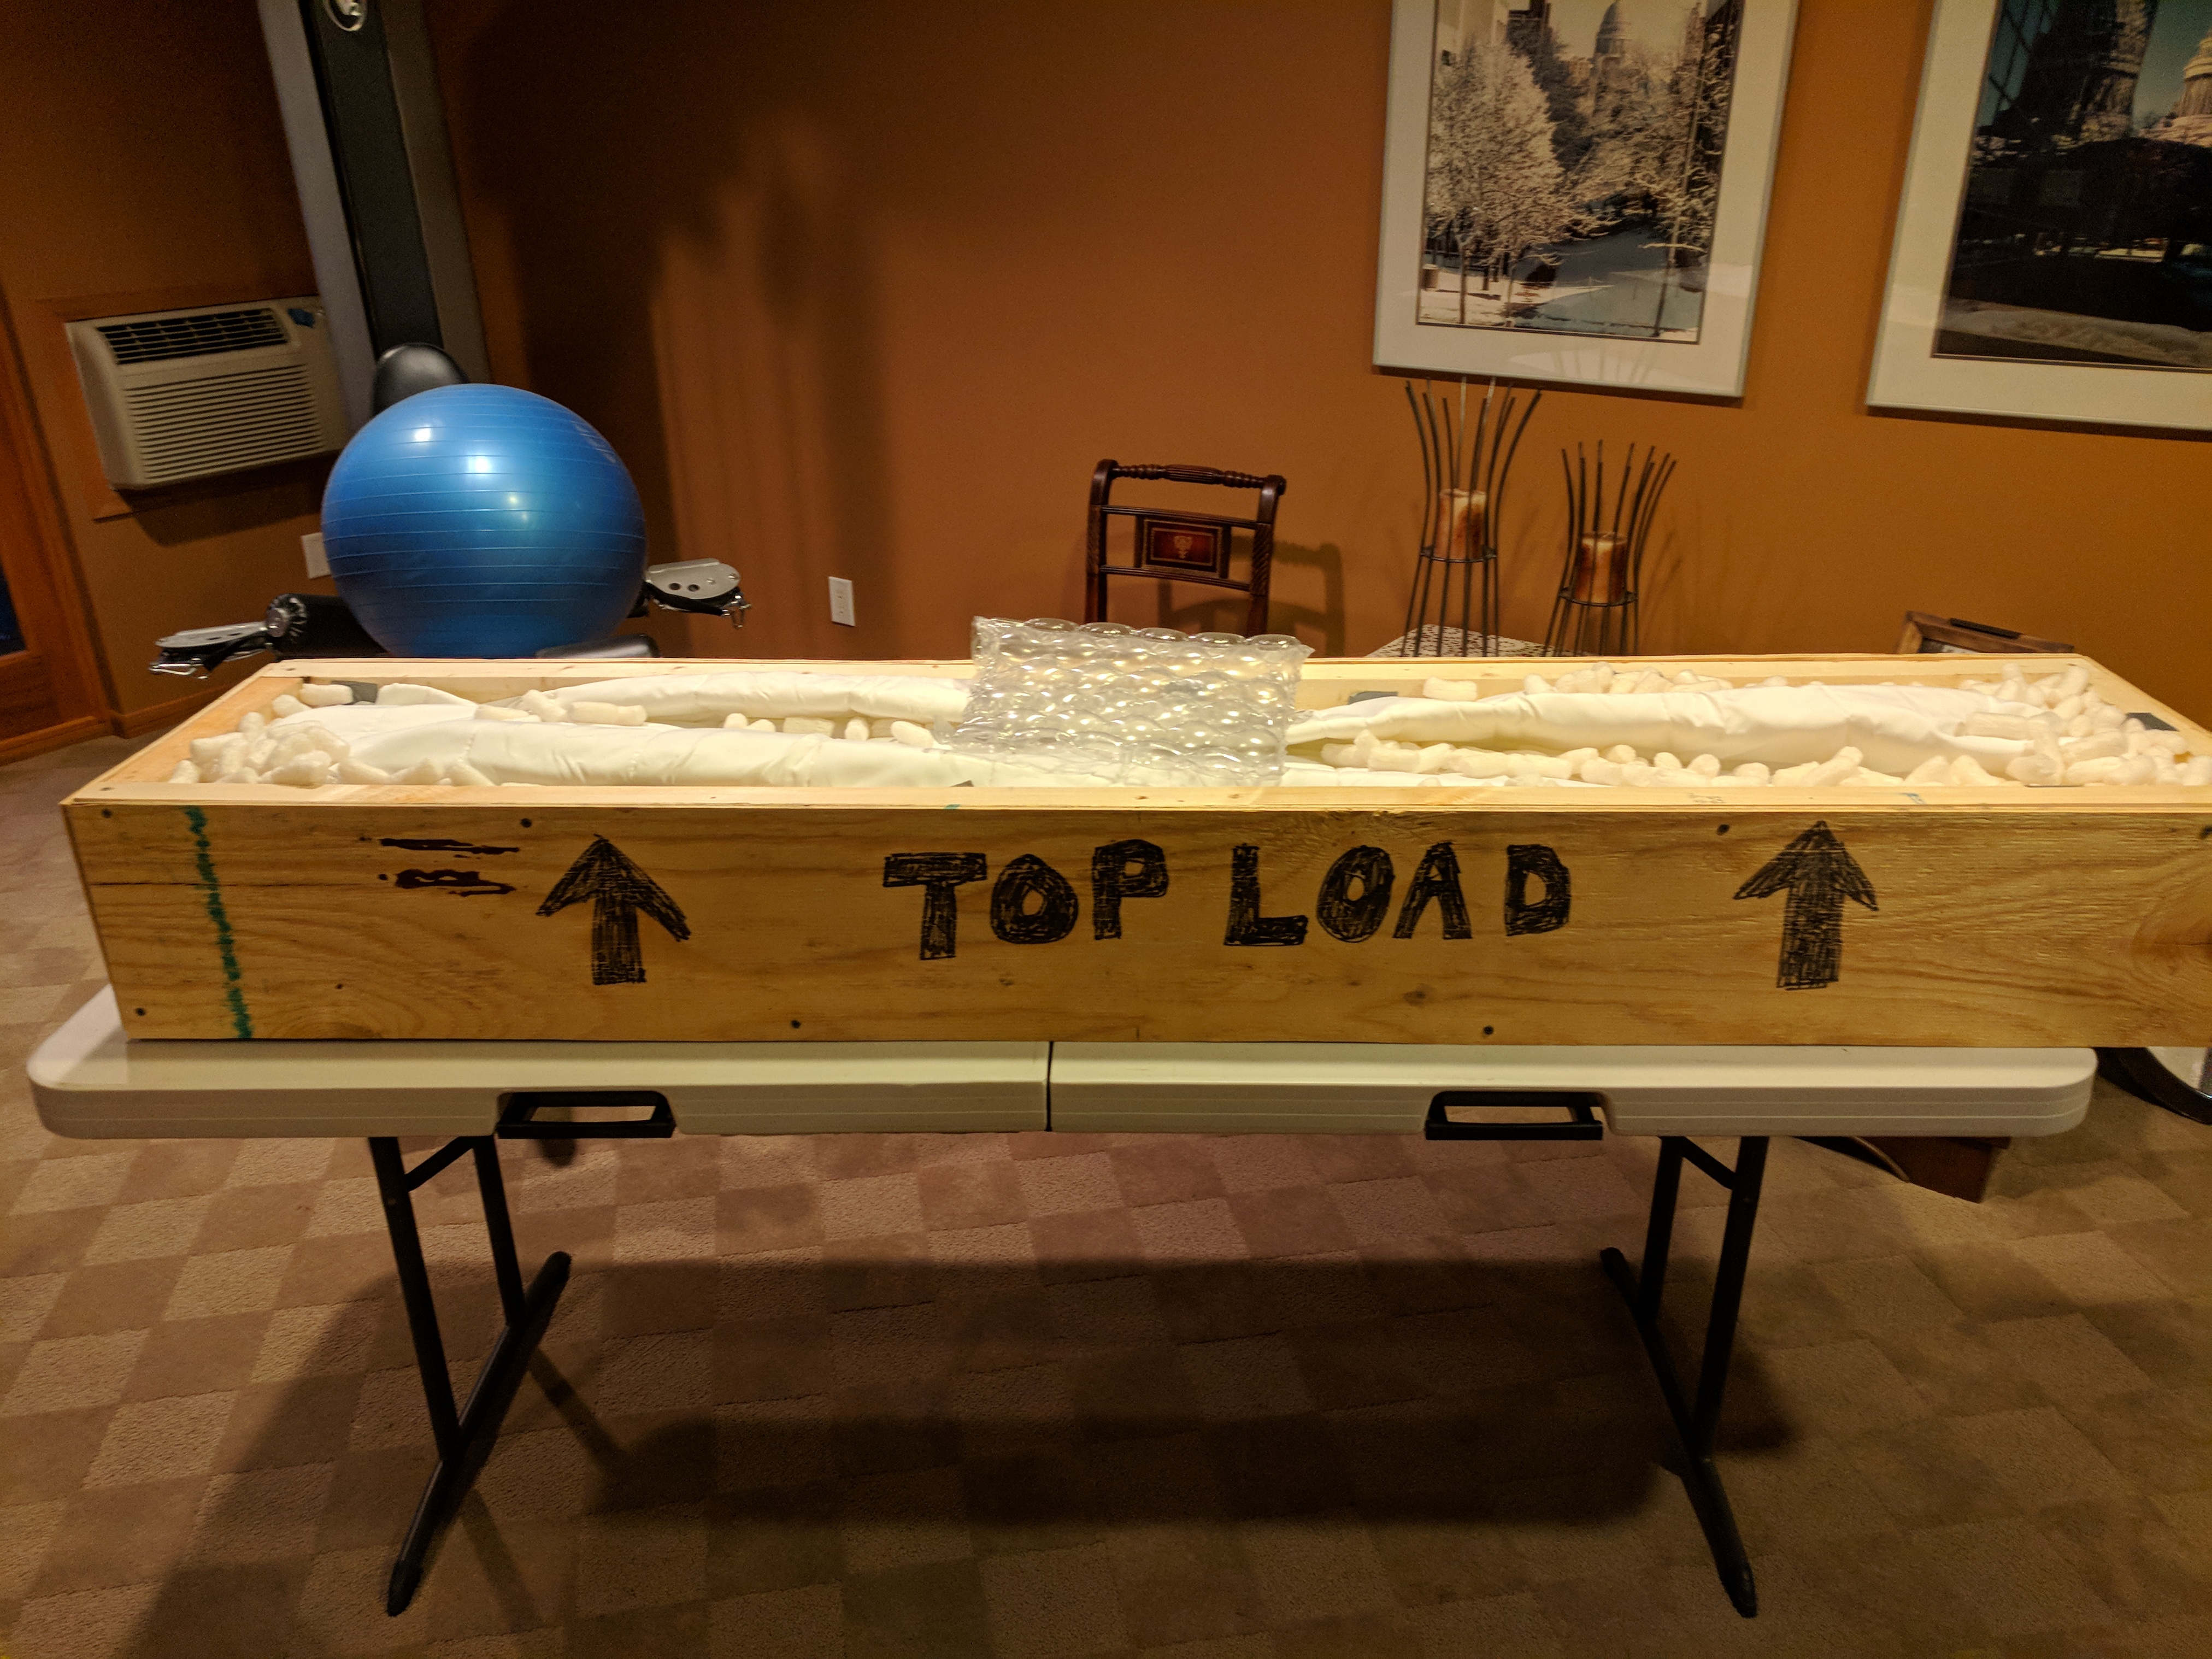
I used 2×2 lumber to make the frame of the crate. I ripped 2×4’s in half on my table saw. I used one sheet of 1/4 inch plywood to cover the crate. I figure that provides adequate protection without weighing too much. Since the plywood is 48 inches wide, you can get two 15 inch width pieces for the top and bottom and two 9 inch pieces for the sides. You’ll have 22 inches of plywood left over which is big enough for the ends.
Top and bottom: 15 inches wide x 74 inches long
Sides: 9 inches wide x 74 inches long
I bought a cheap foam mattress pad at Marshall’s and used some packing peanuts and bubble wrap to protect the parts. I figure the ailerons are worth $3000 so it pays to protect them. I paid an extra $27 for insurance that covers up to $3000 of proven damage.
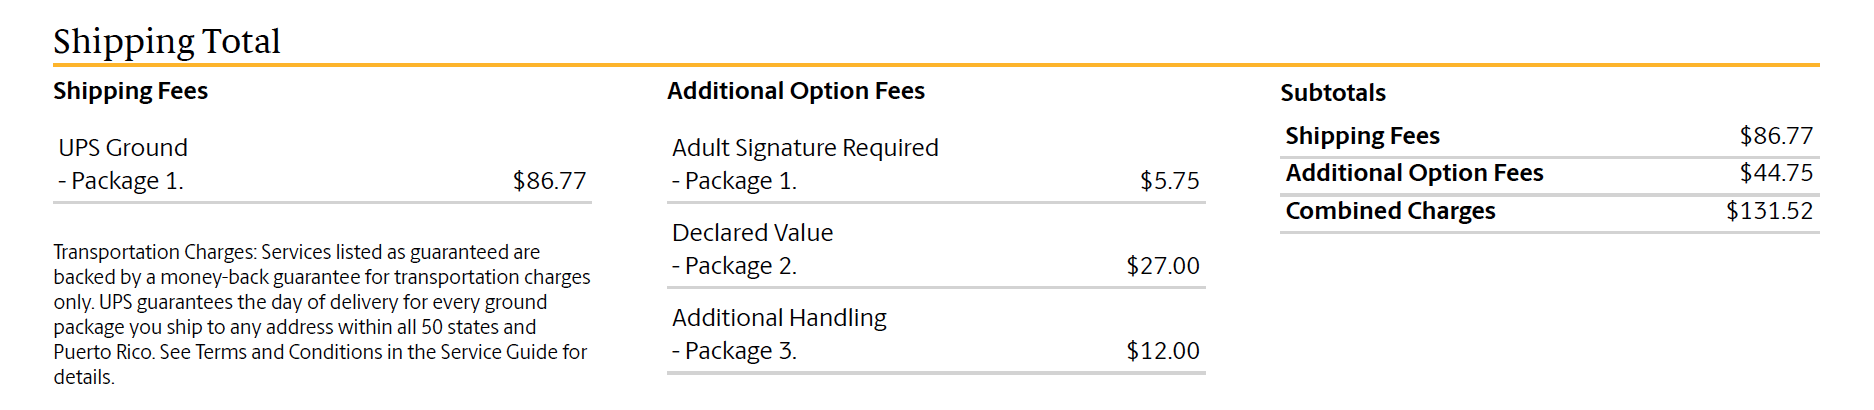
Regarding shipping, my crate fit into the UPS Ground maximum size and weight criteria. UPS Ground was less than half the price ($130 each way) of the LTL (less than truckload) shippers I found on freightquote.com which were $300 plus each way. My crate was 65 lbs fully loaded, even though the ailerons only weigh a few pounds. UPS Ground will transport up to 150 lbs. UPS requires the length plus girth to be less than 165 inches and my crate girth is 127 inches (75 long + 10 high + 16 wide + 10 high + 16 wide). UPS asks for an additional handling charge for a wood crate but in contrast the LTL freight companies wanted all kinds of additional charges (limited access charge for airport, special freight class 200 for airplane parts, no loading dock charge, driver special handling, etc.)
 ‘
‘ 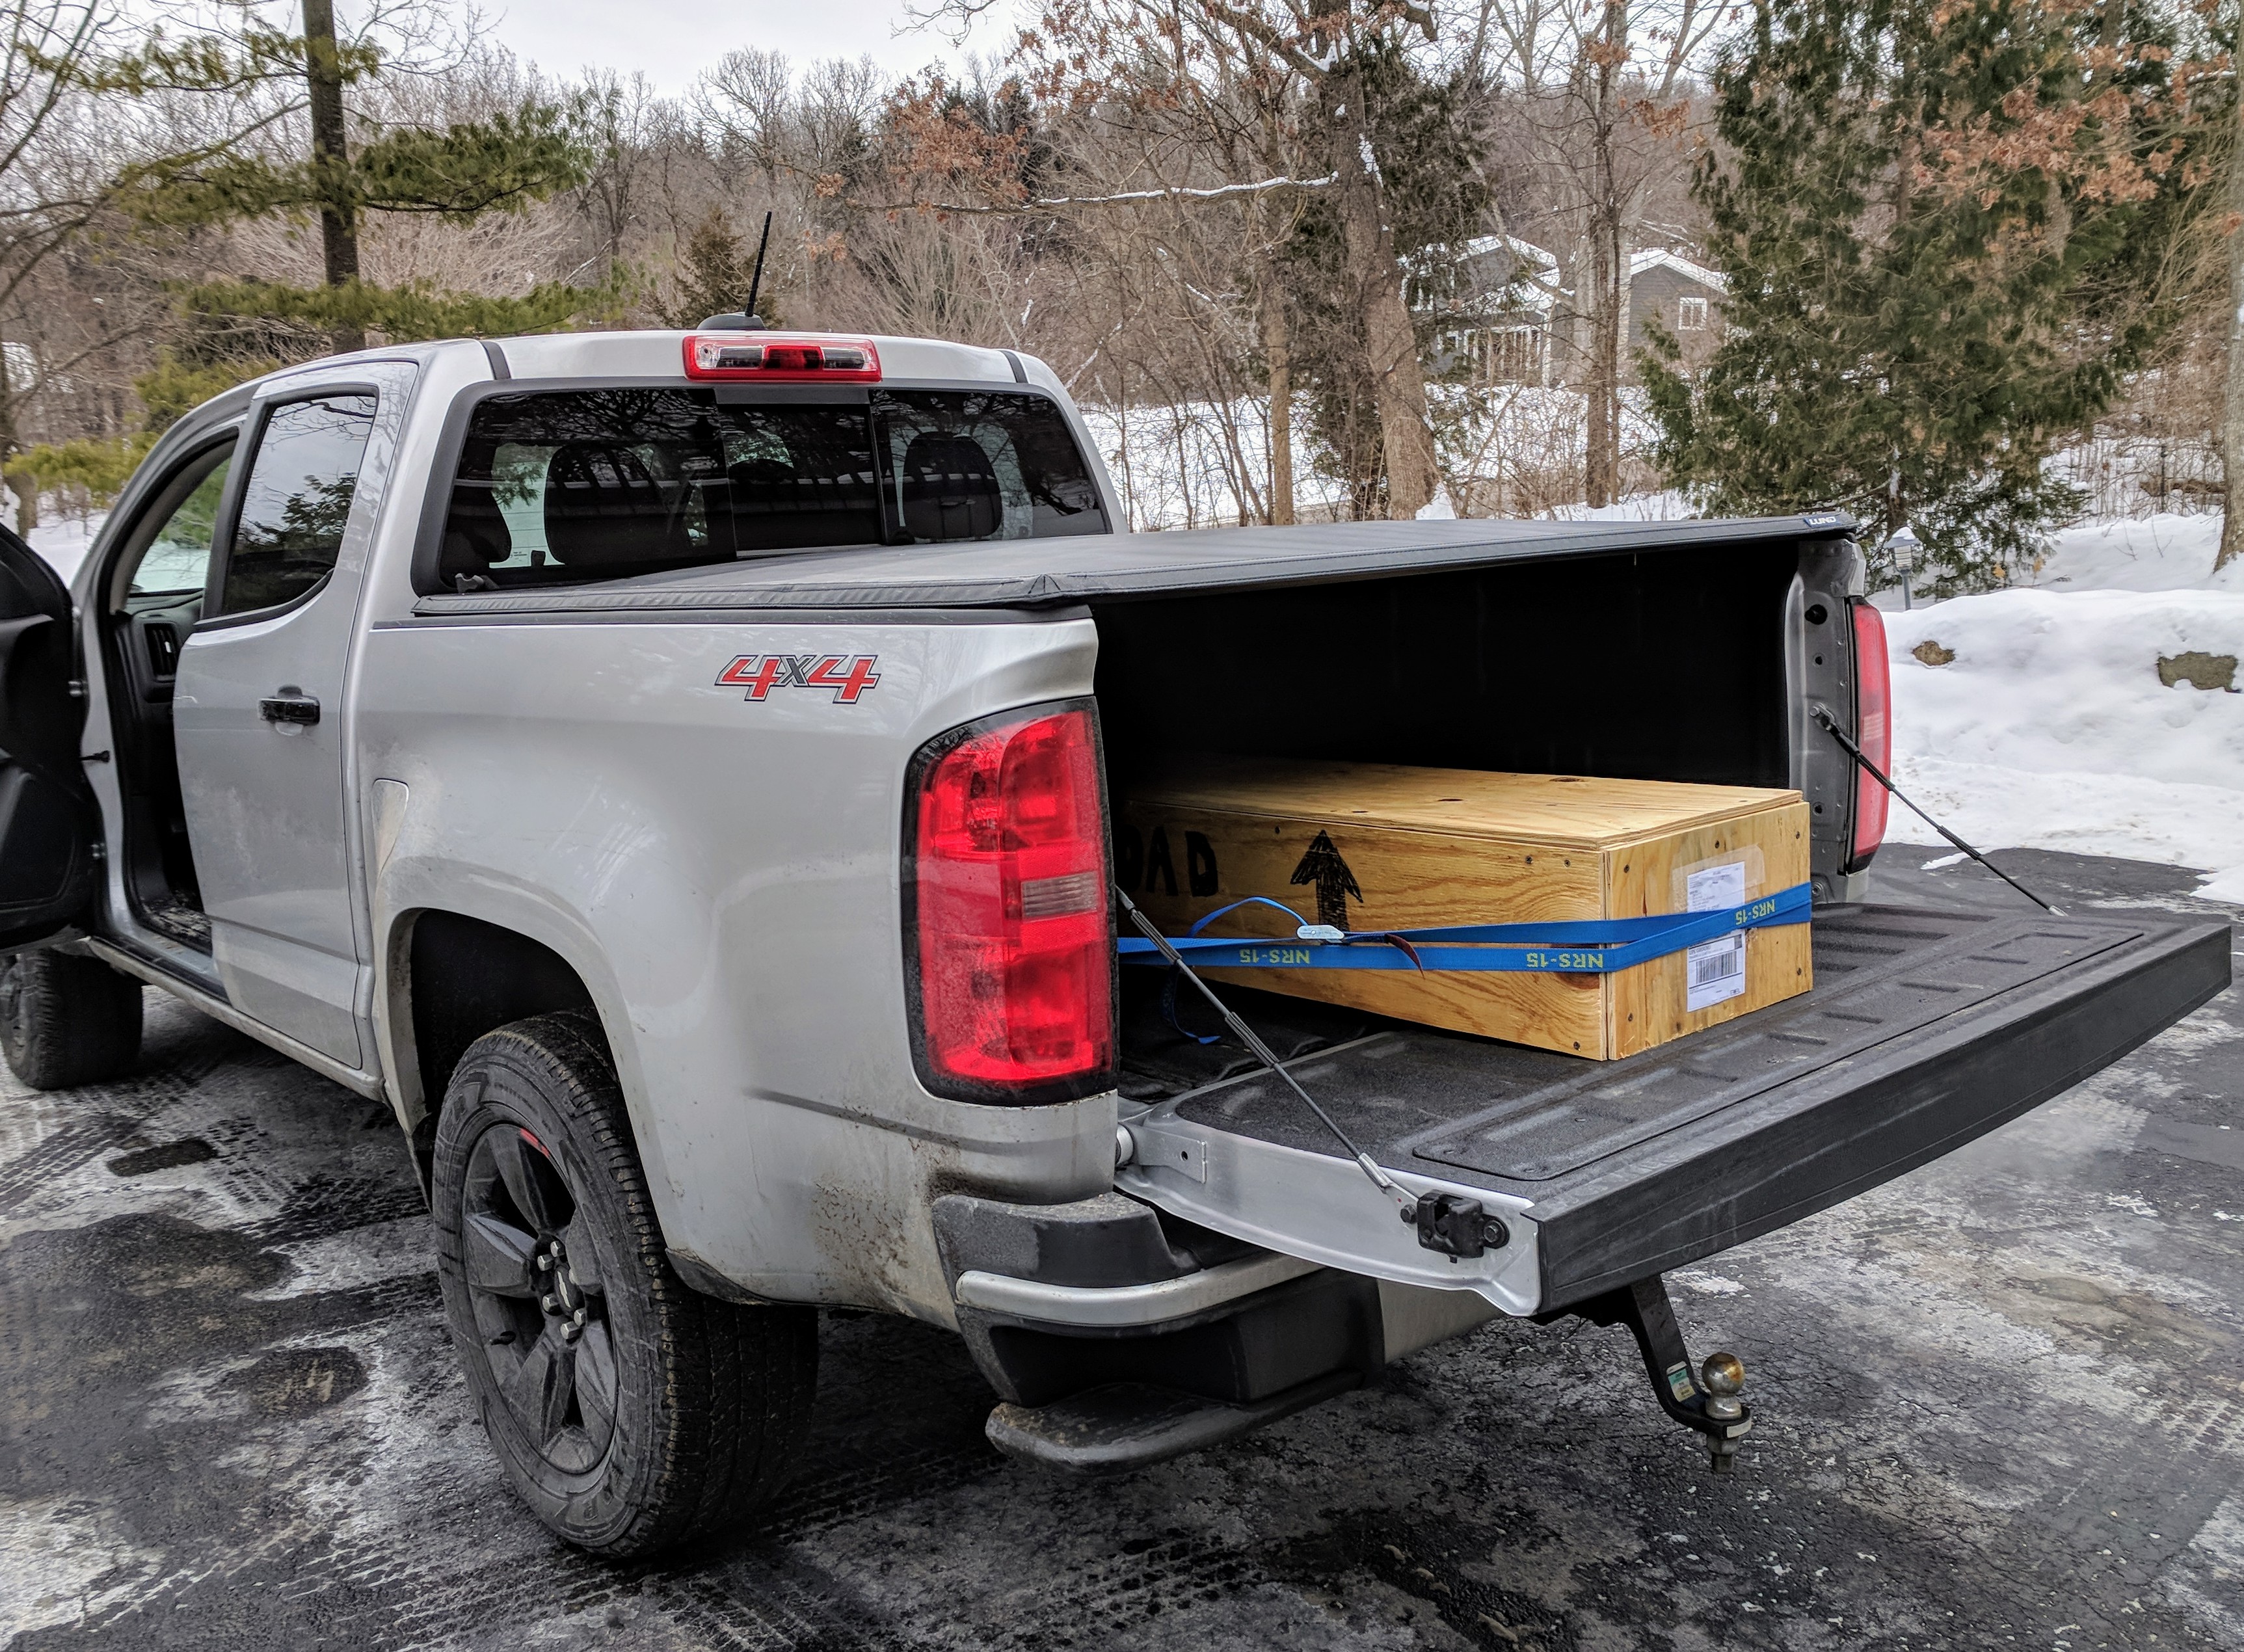
I was able to carry the crate myself, I put it in the truck and carried it into the UPS facility.
Jim sent the crate back via Fedex, $8 cheaper with the same insurance. I directed them to hold the crate at a Fedex Office location because I’ll be out of town when it arrives. Fedex does that for free.
Here are Jim’s instructions to us for painting the aileron parts:
Frise Ailerons are completed and packed back into the crate this morning (Feb 20). Parts were fit in the jig, drilled, deburred, filed where needed, and then test fit again. Should only take roughly 20 mins to attach the metal when you’re ready.
The parts are labeled as to up / down and left / right. IMPORTANT: When your painter sets up to paint, hang the parts and set the metal next to the ailerons – orient the parts the way they will be installed. That’s what we do, because once you remove the labeling you won’t know what part fits where or how. Then shoot the leading edge and allow over spray down past the leading edges. Wait until the paint tacks up, then go ahead and install the metal and rivet it right in the paint booth. Then shoot the entire part, covering the ailerons, metal, and rivets at the same time.