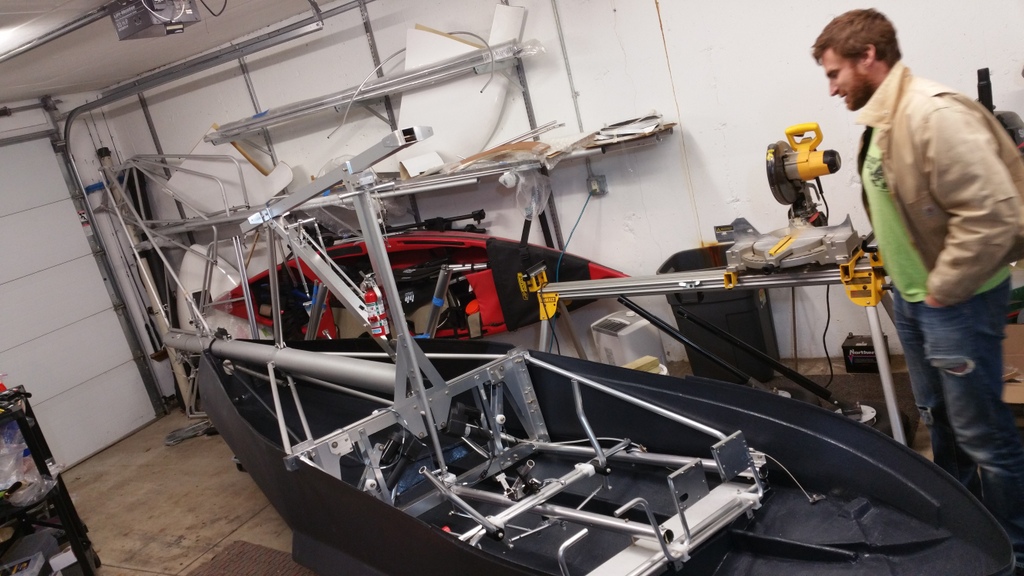
We worked on trial fitting the fuselage in the hull.
We cut some holes in the rear of the hull and also changed the pedal footrest to provide more legroom.
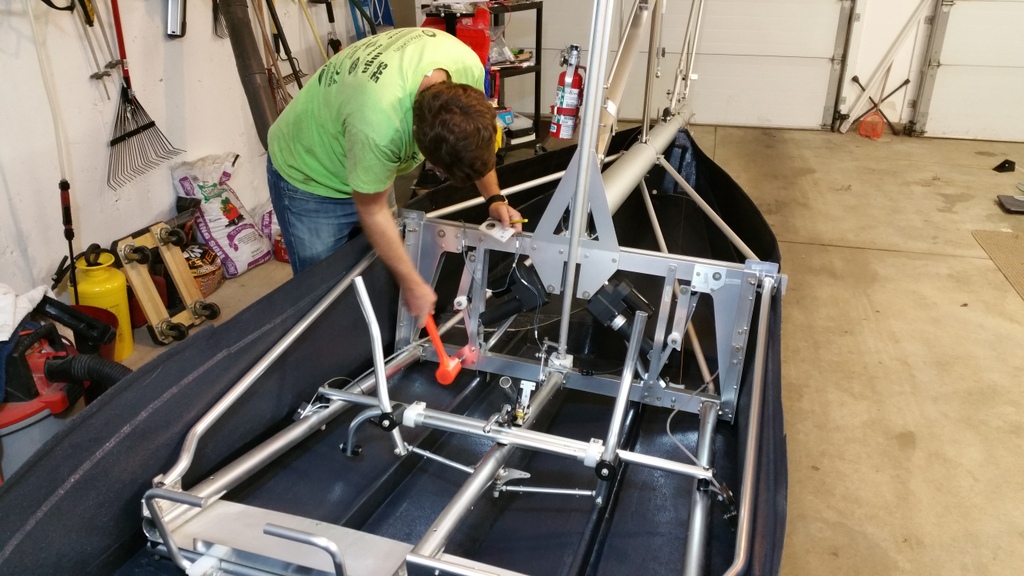
We need to get a hoist, this thing is getting heavy!

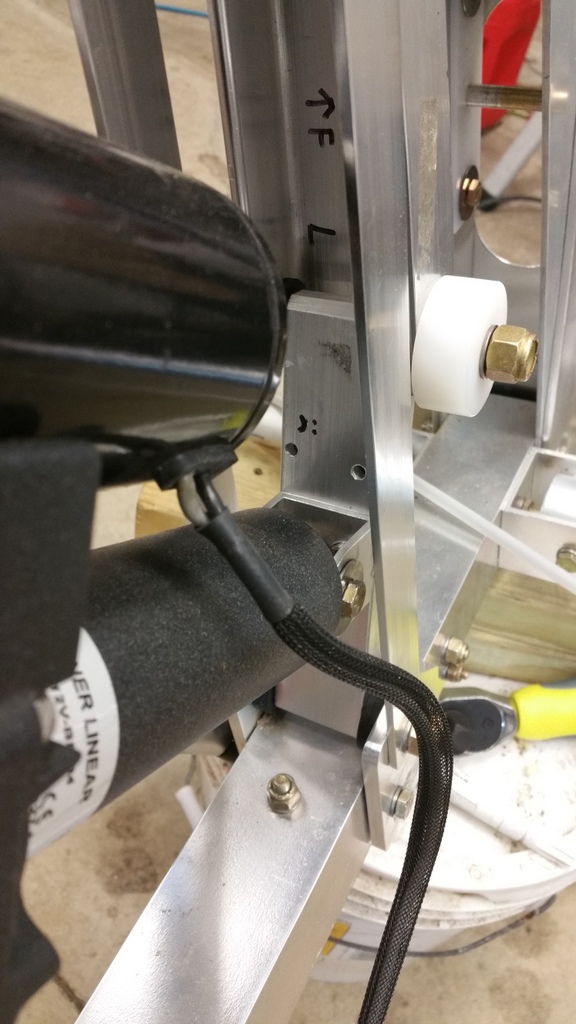
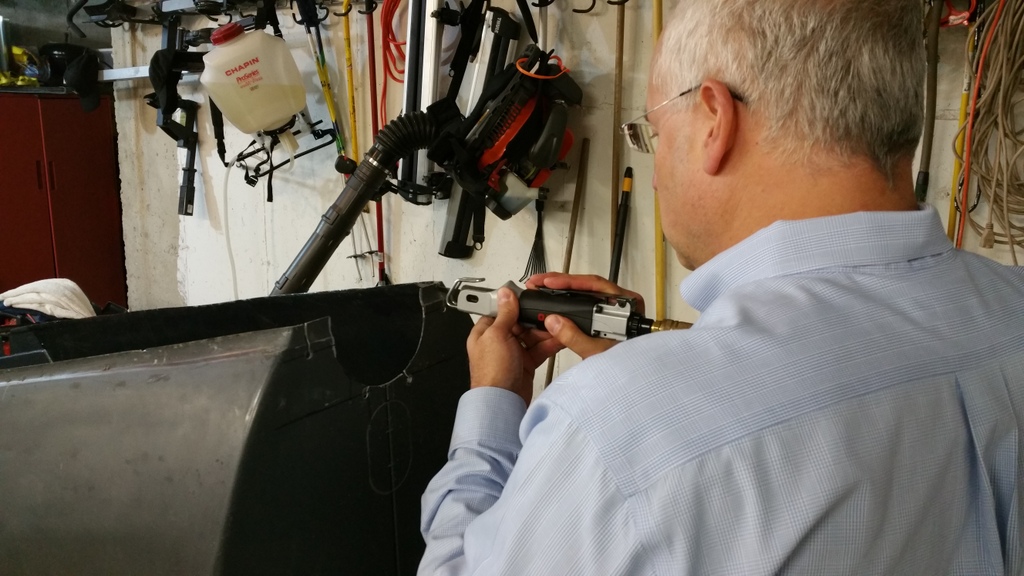
Rounding off the push/pull aileron holder because it was hitting the hull.
We might buy the new and improved one.
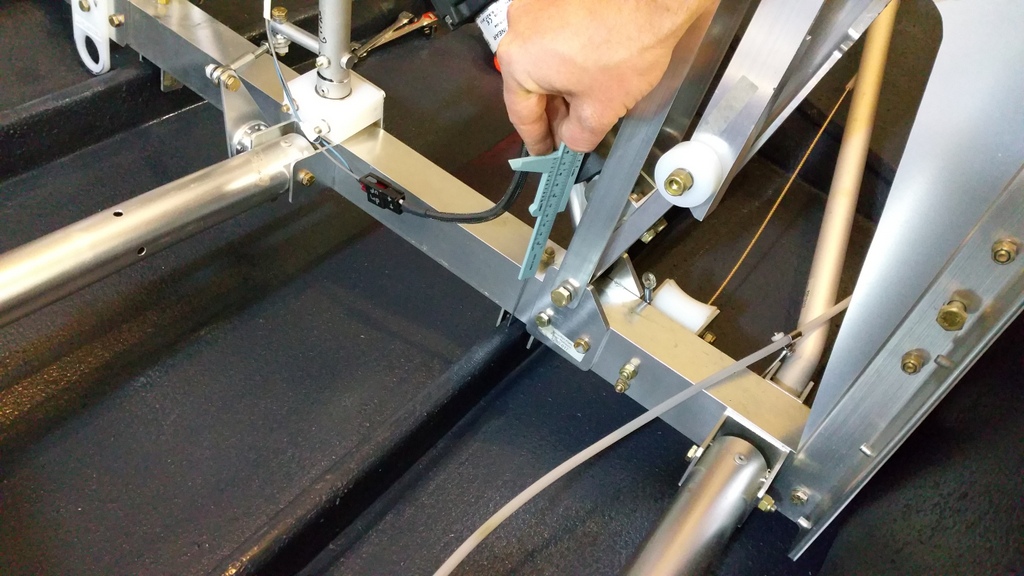
Measuring the height with calipers
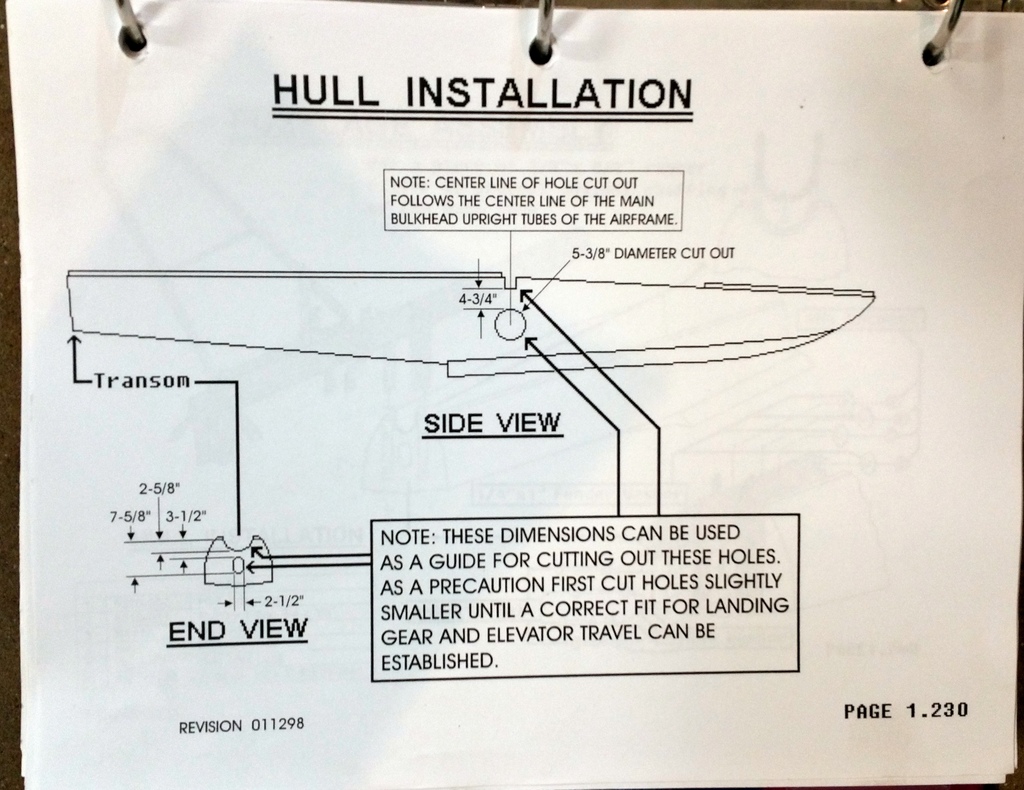
Here’s an example of the installation diagrams from the old manual (which came with my plane and was the only thing we had for several years.
Critical thing, cutting holes in your $3000 hull and the old instructions left a bit to be desired.
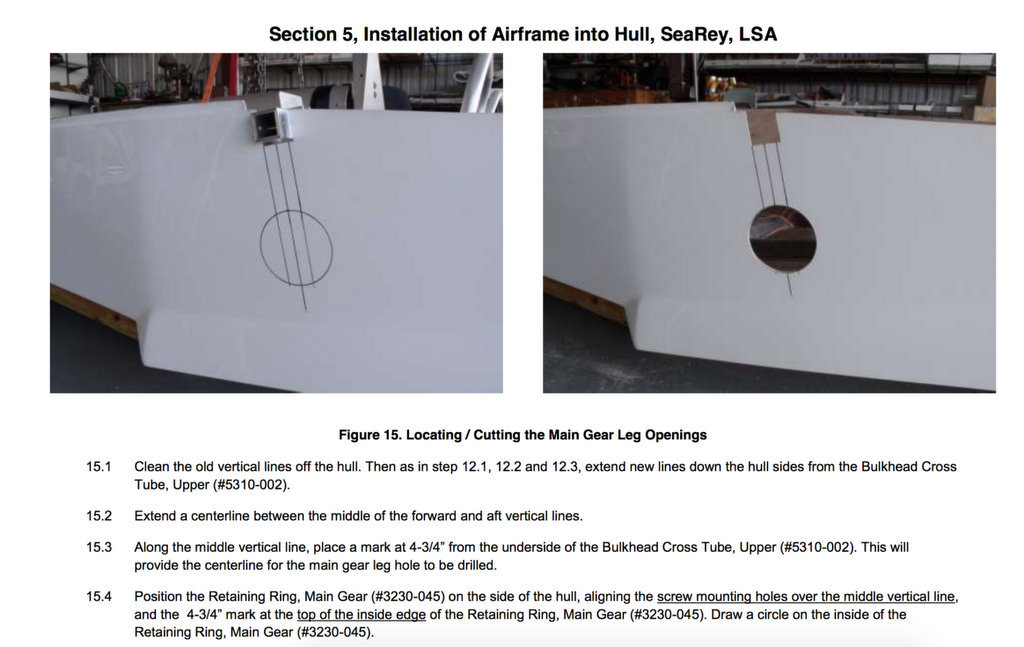
Fortunately the plans have improved since 2008. We have 4 different versions of the plans now.
Here’s our favorite new version of the plans – with some photos!
Ethan is sad about these holes being a little off. They’ll work fine!
Marked where the hull attaches
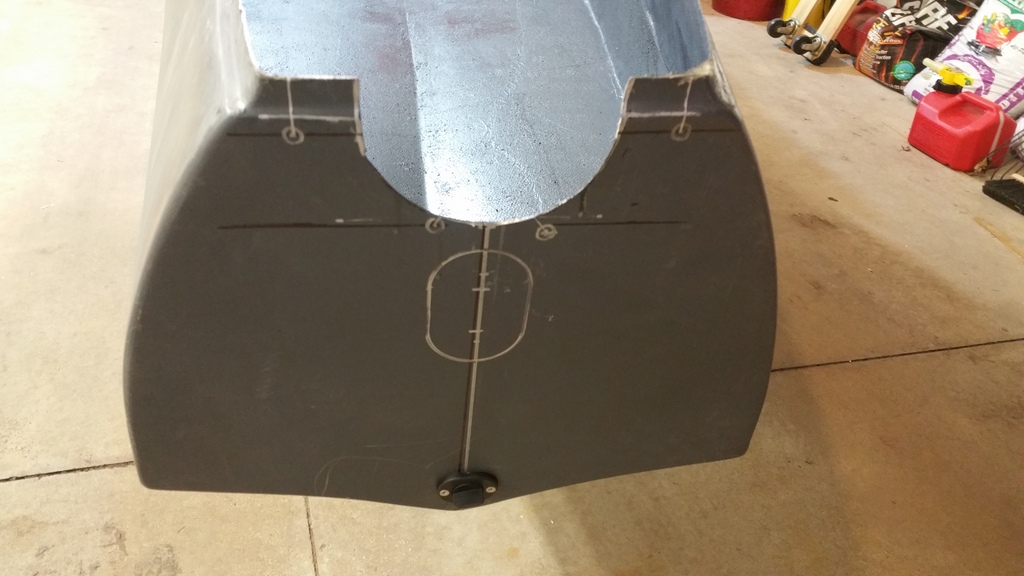
Marking the hole for the elevator push/pull tube

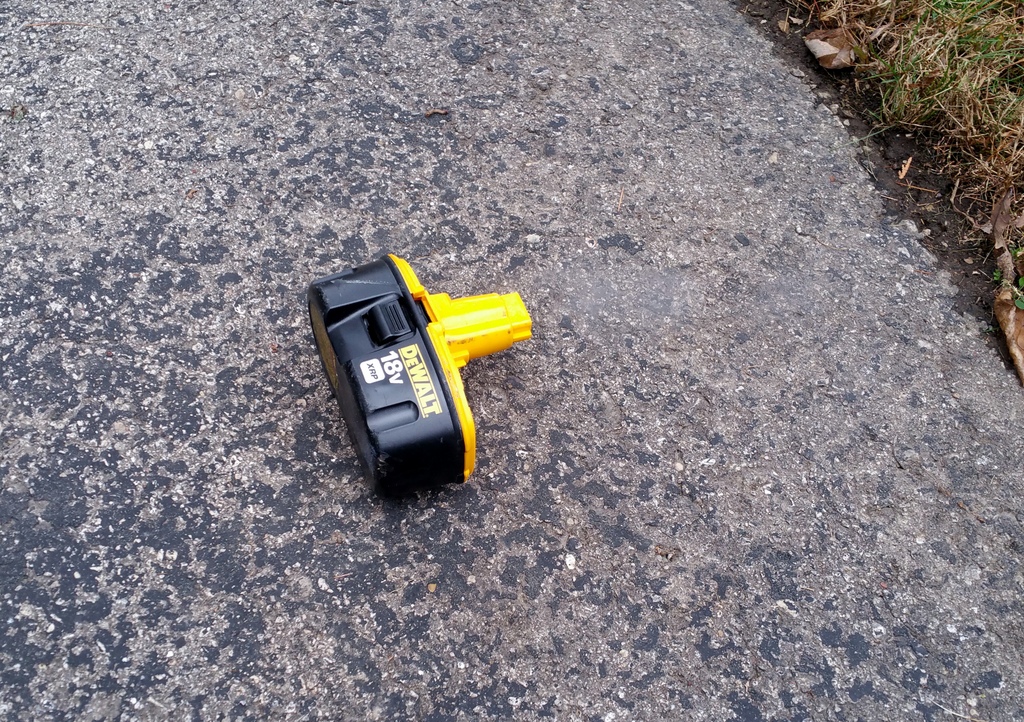
My drill battery started on fire in the charger! Turns out the charger was recalled by DeWalt.
DeWalt sent me a new charger and battery. Good thing we were there when it started on fire
because it was right below the natural gas line for my garage heater.
http://www.dewalt.com/product-recalls/cpsc-dewalt-industrial-tool-co-announce-recall-of-battery-chargers.aspx
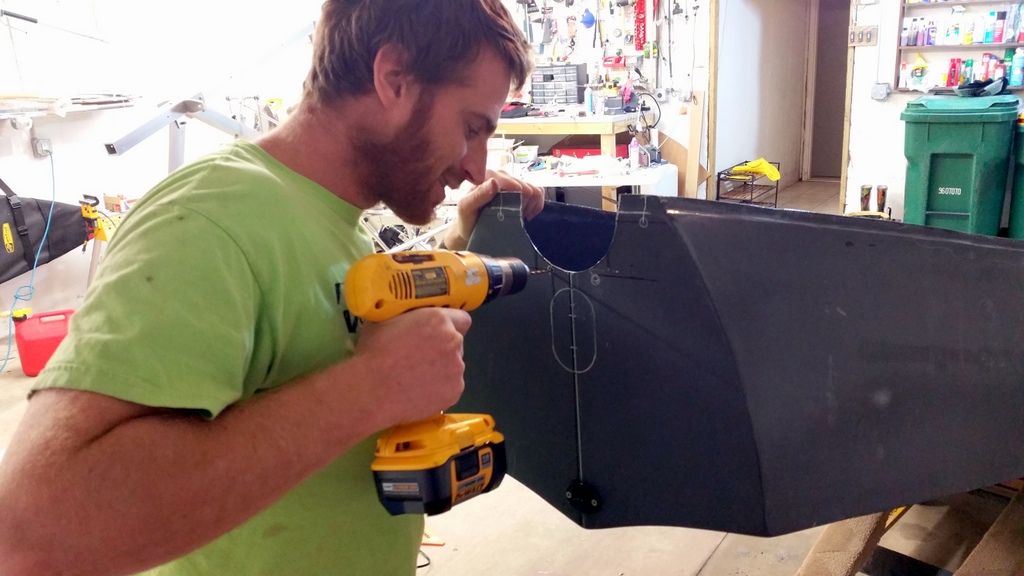
Drilling the cable holes
Cutting the access grooves for the cable holes.
Ethan’s phone doesn’t have a camera so I don’t get many pictures of me.
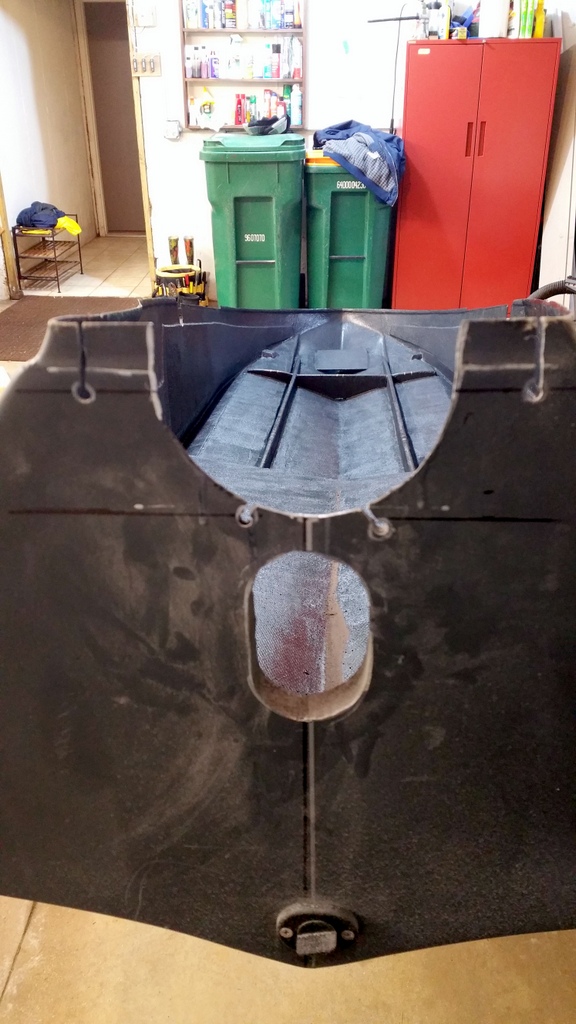
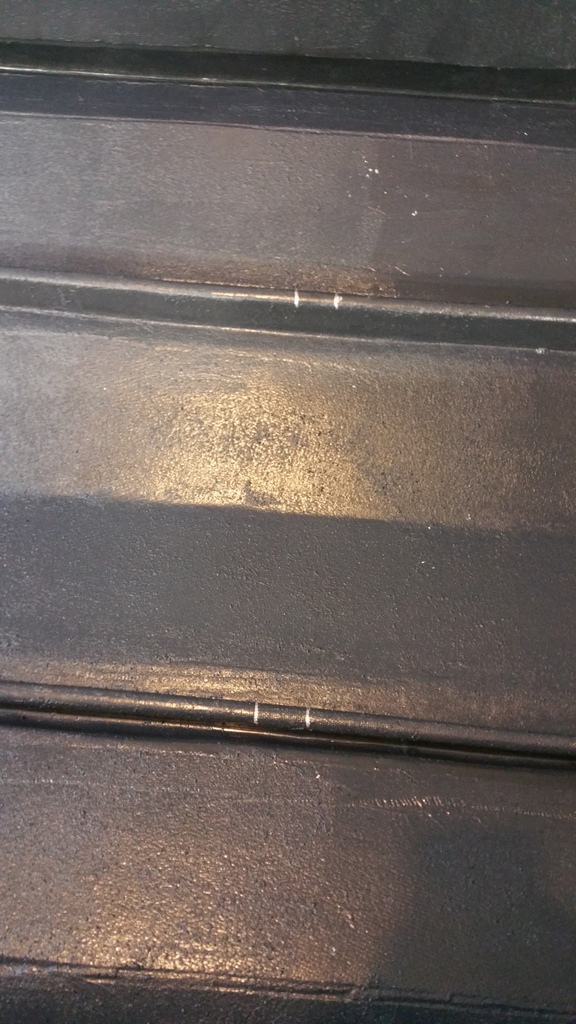
Hole is done!
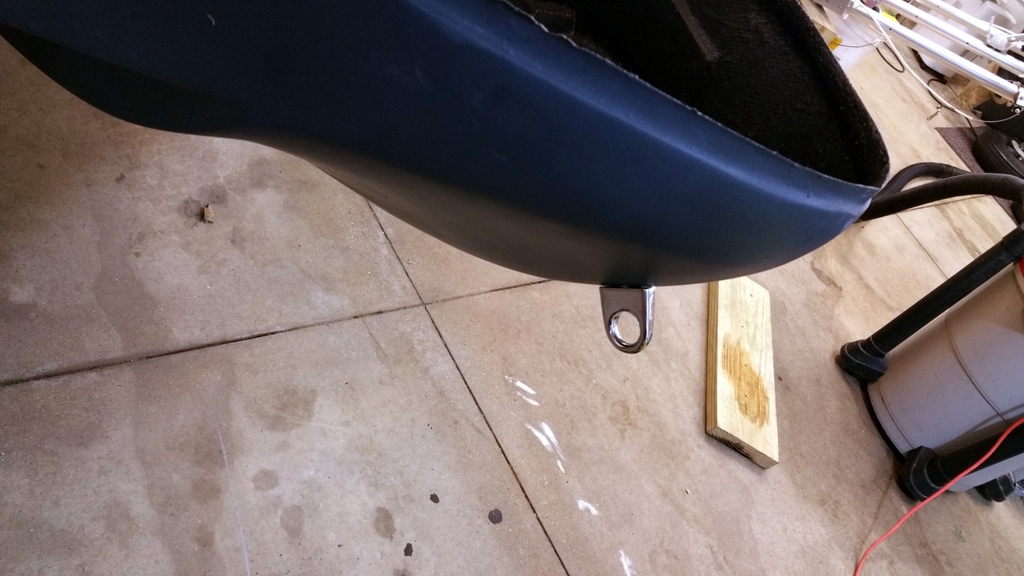
Installed the bow eye – 8 inches from the top of the hull

We need to get the backing plate for the bow eye
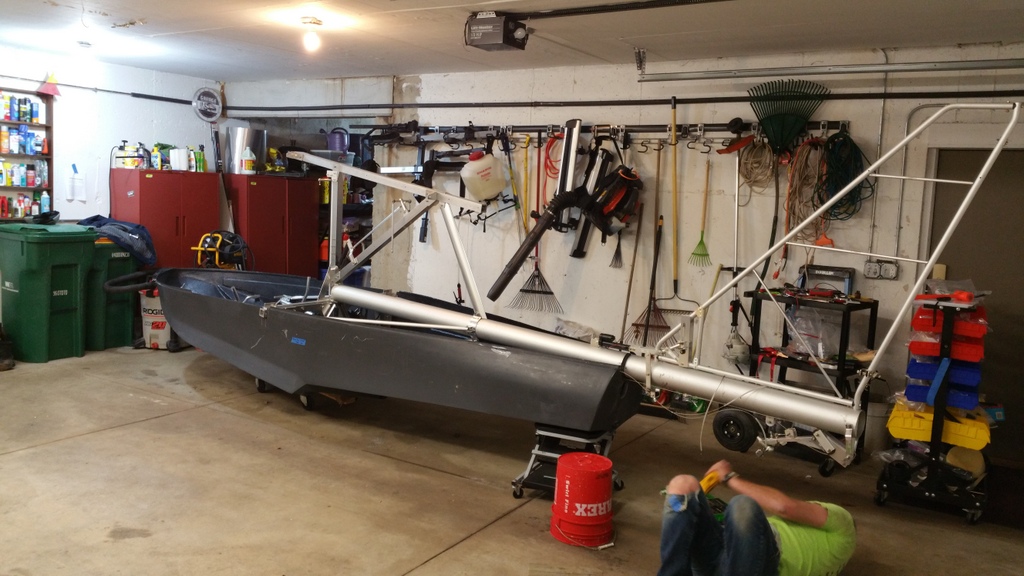
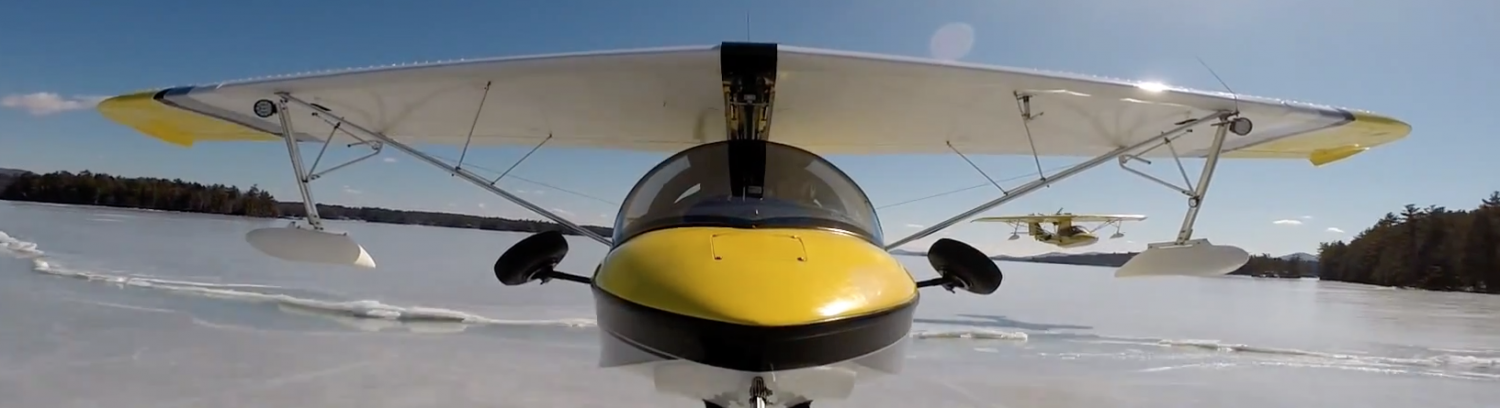
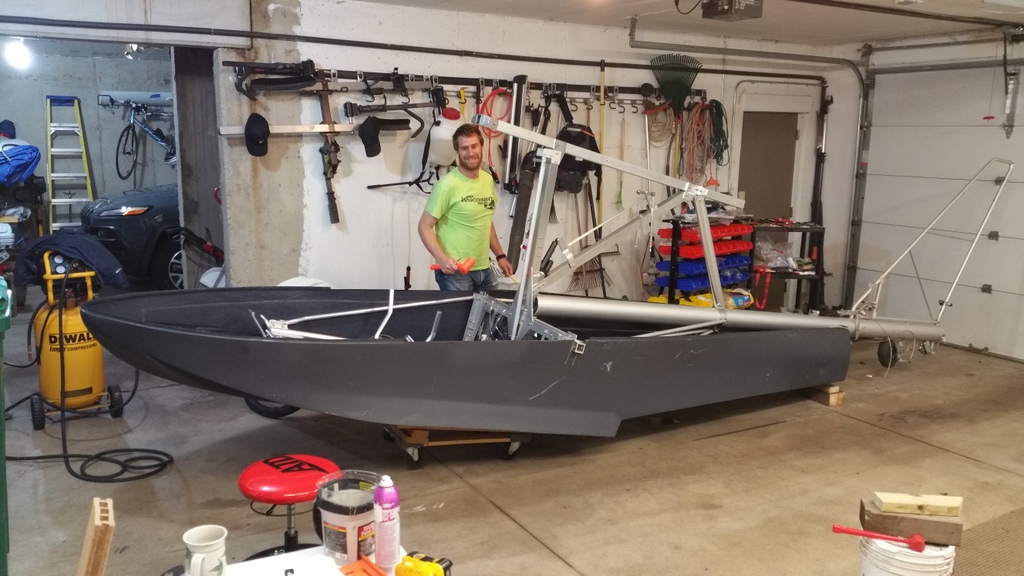
We like how the fuselage looks in the hull!
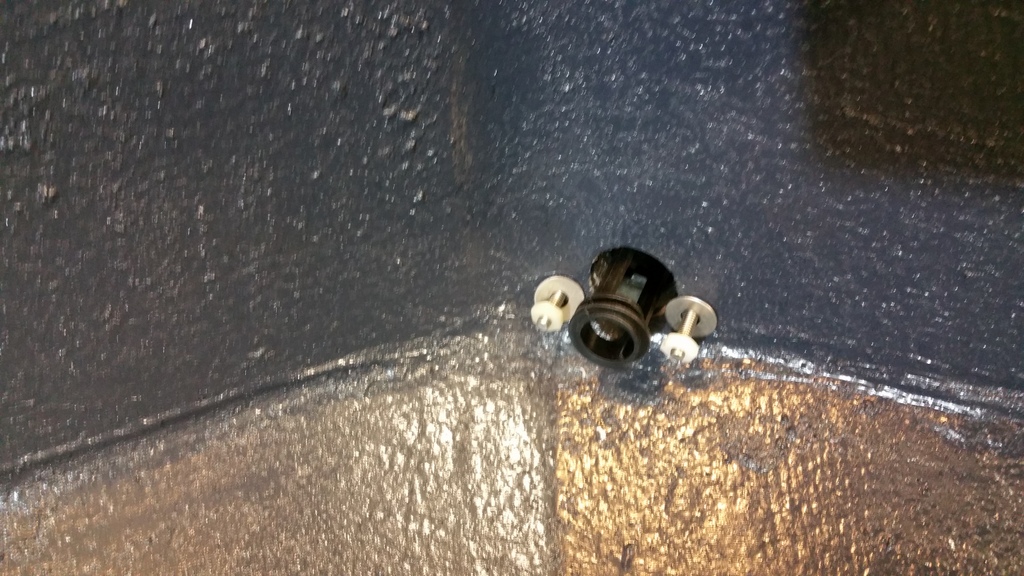
Bilge drain plugs are installed. Need shorter screws.
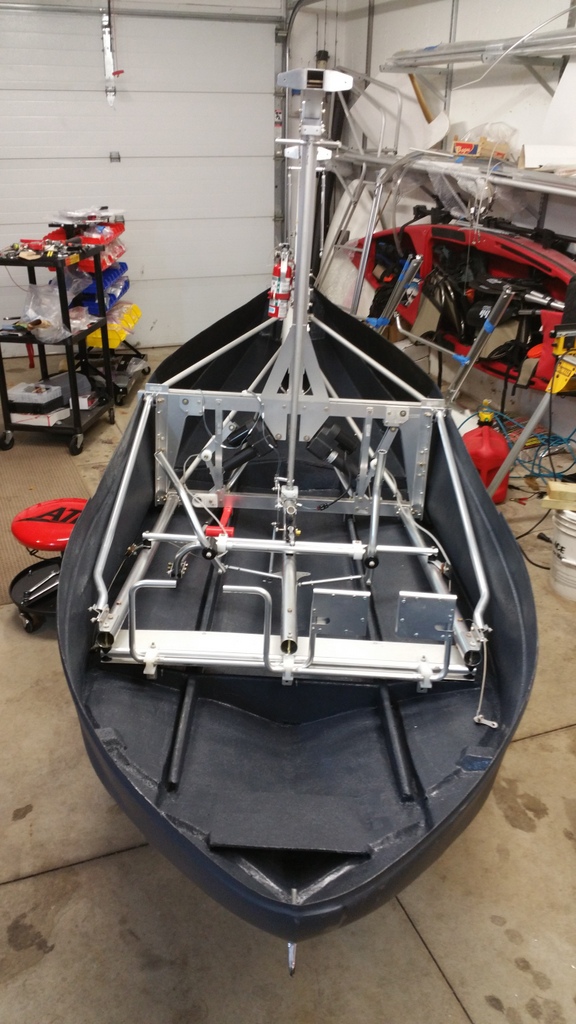
Another view of the fuselage.
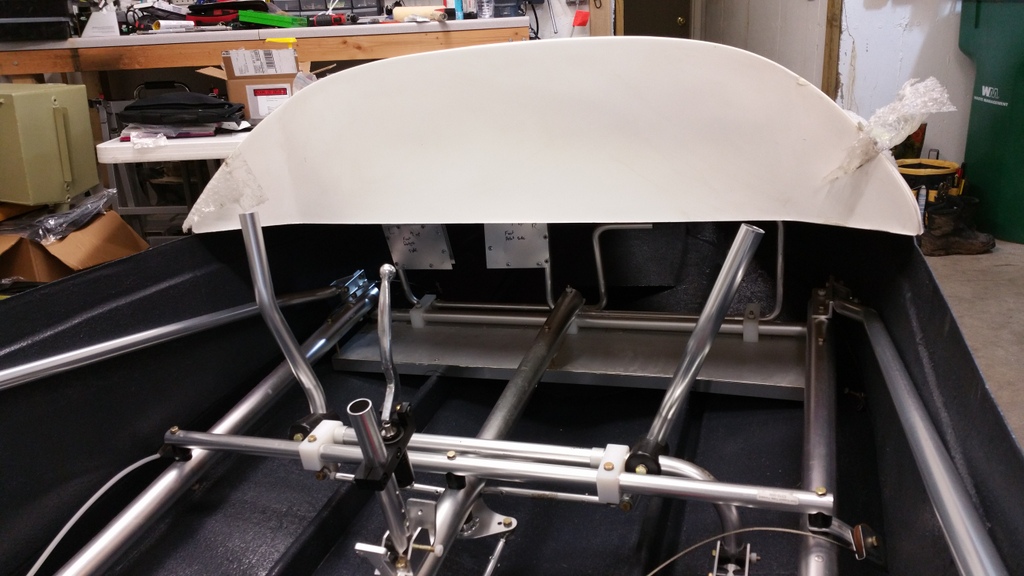
Here’s where the panel will go.

stuff to order/notes
Also add 2 x 7610-002 Aluminum spacer for rudder pulley rivet
And 2730-019 and 1/8 and 1/16 UHMW plastic sheets so we can make our own spacer blocks.