
Today we took a look at the megahatch we ordered from Recreational Mobility and we worked on the gas tank.
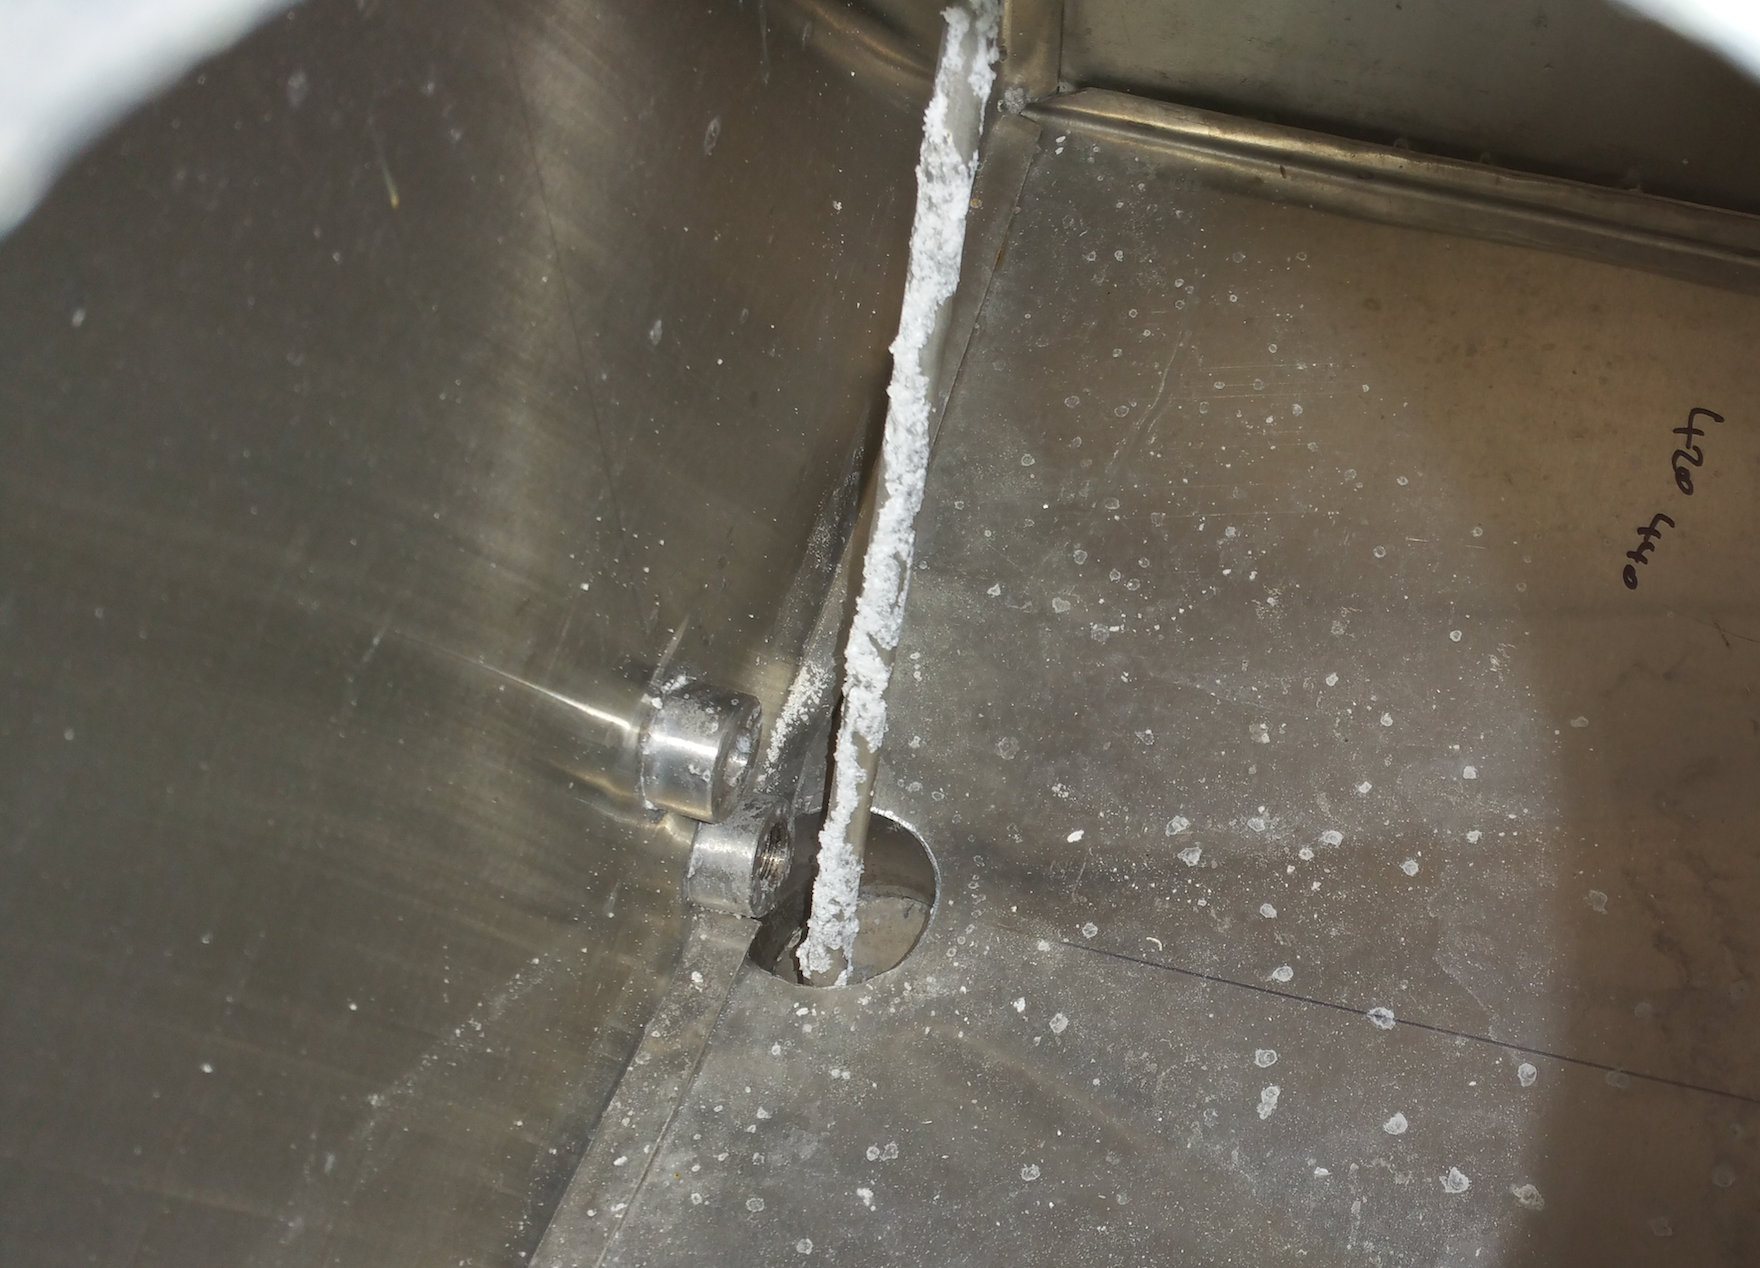
We pressure tested the tank with water and some lime had built up on this tube. Must have been some type of galvanic corrosion that attracted the lime? Anyway, we needed to descale it so we did that. We’re also planning on rinsing the tank with fuel before we install it.
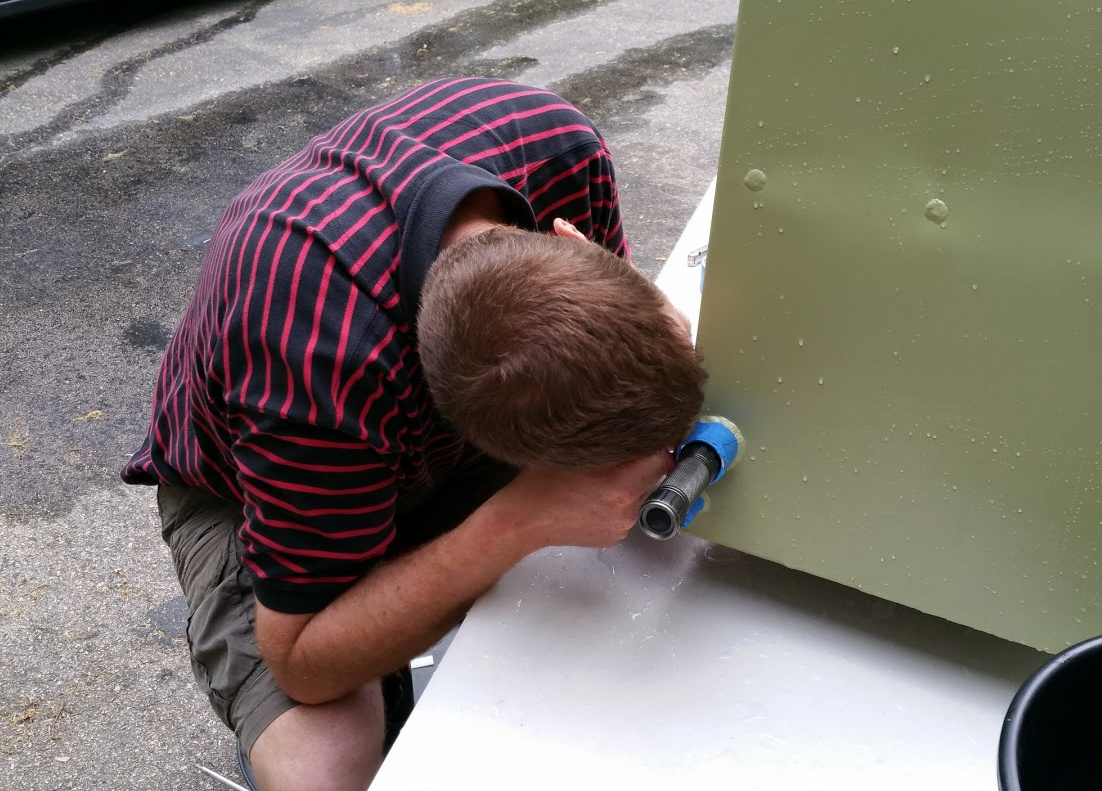
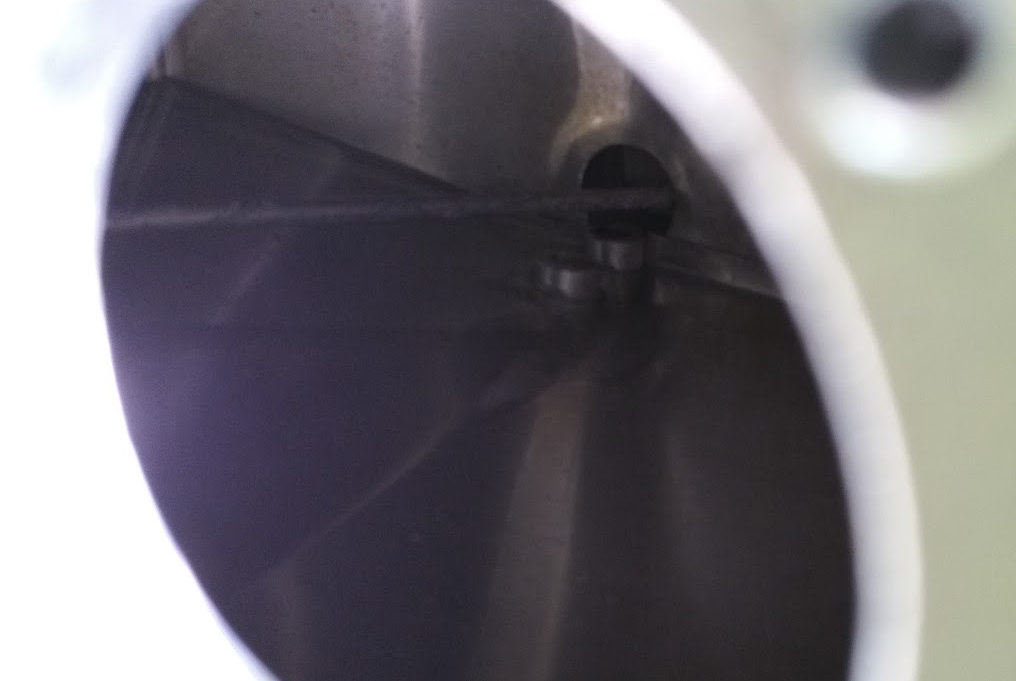
Flashlight shining in the tank
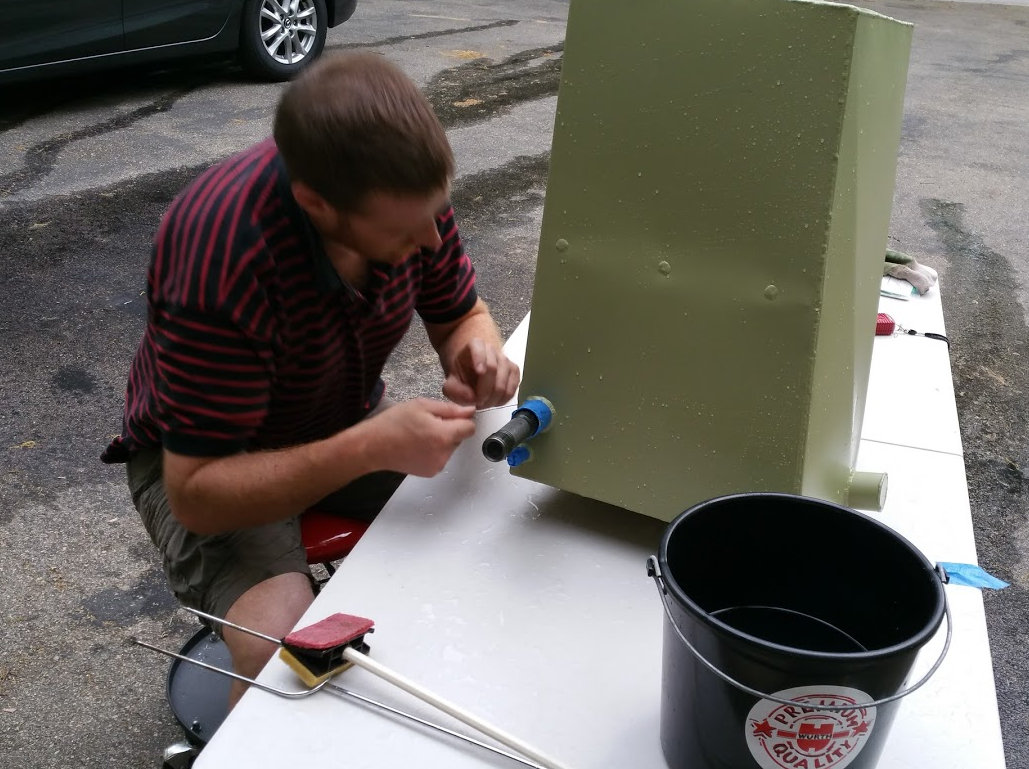
Trying to get at the lime buildup with various tools
The tube is a lot cleaner now. We got a bunch of lime particles out of the tank.
We put hot water in the tank, emptied it, and blew it dry with a shop vac to minimize more lime buildup.
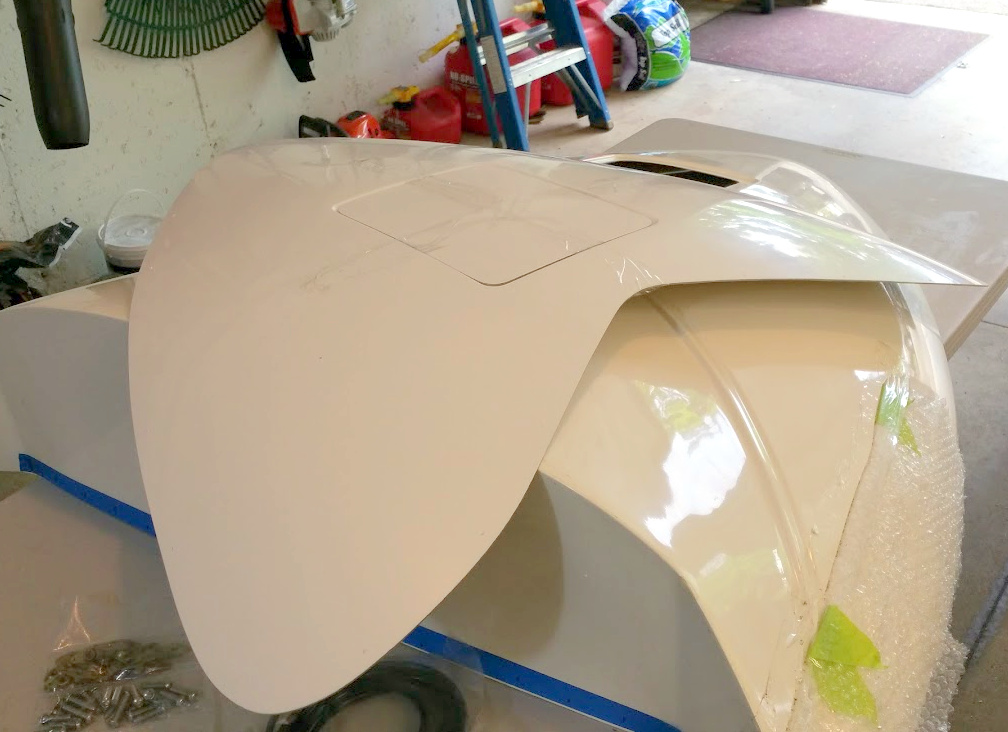
We unpacked the megahatch and took a look at the parts and instructions. This is an optional larger hatch that makes it easier to stow items in the nose. It will also be easier to work on the electronics as it provides access to the backside of the instrument panel.
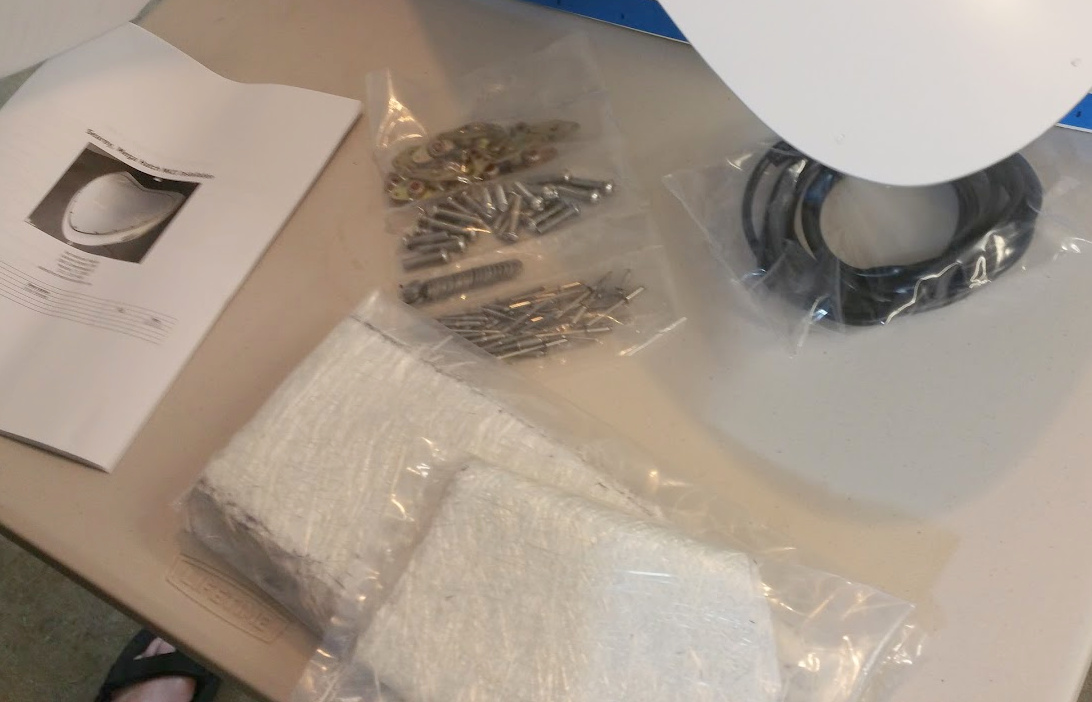
Here are all the parts that come in the box.
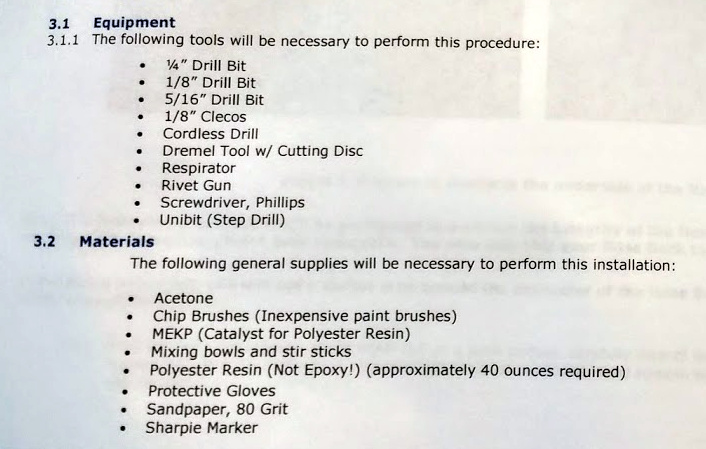
Here’s what’s needed to do the installation
We have all the tools, but we need to buy some acetone, MEKP, and polyester resin. The instructions say that it takes 5 hours of installation time spread over 2 days due to resin drying time. So we’ll work on this after we get the materials.